Introduction to Fabrication Key Take-aways for Day 1:
1. The junk shelf is your best friend. When in need of some inspiration, check out junk.
2. Drilling is actually fun!
Creating my flashlight:
Step 1: Go through the junk shelf.
I needed some inspiration to come up with my very own flashlight. I didn’t want to spend and at the same time I wanted something unique so I went ahead and scoured the junk shelf for some materials.

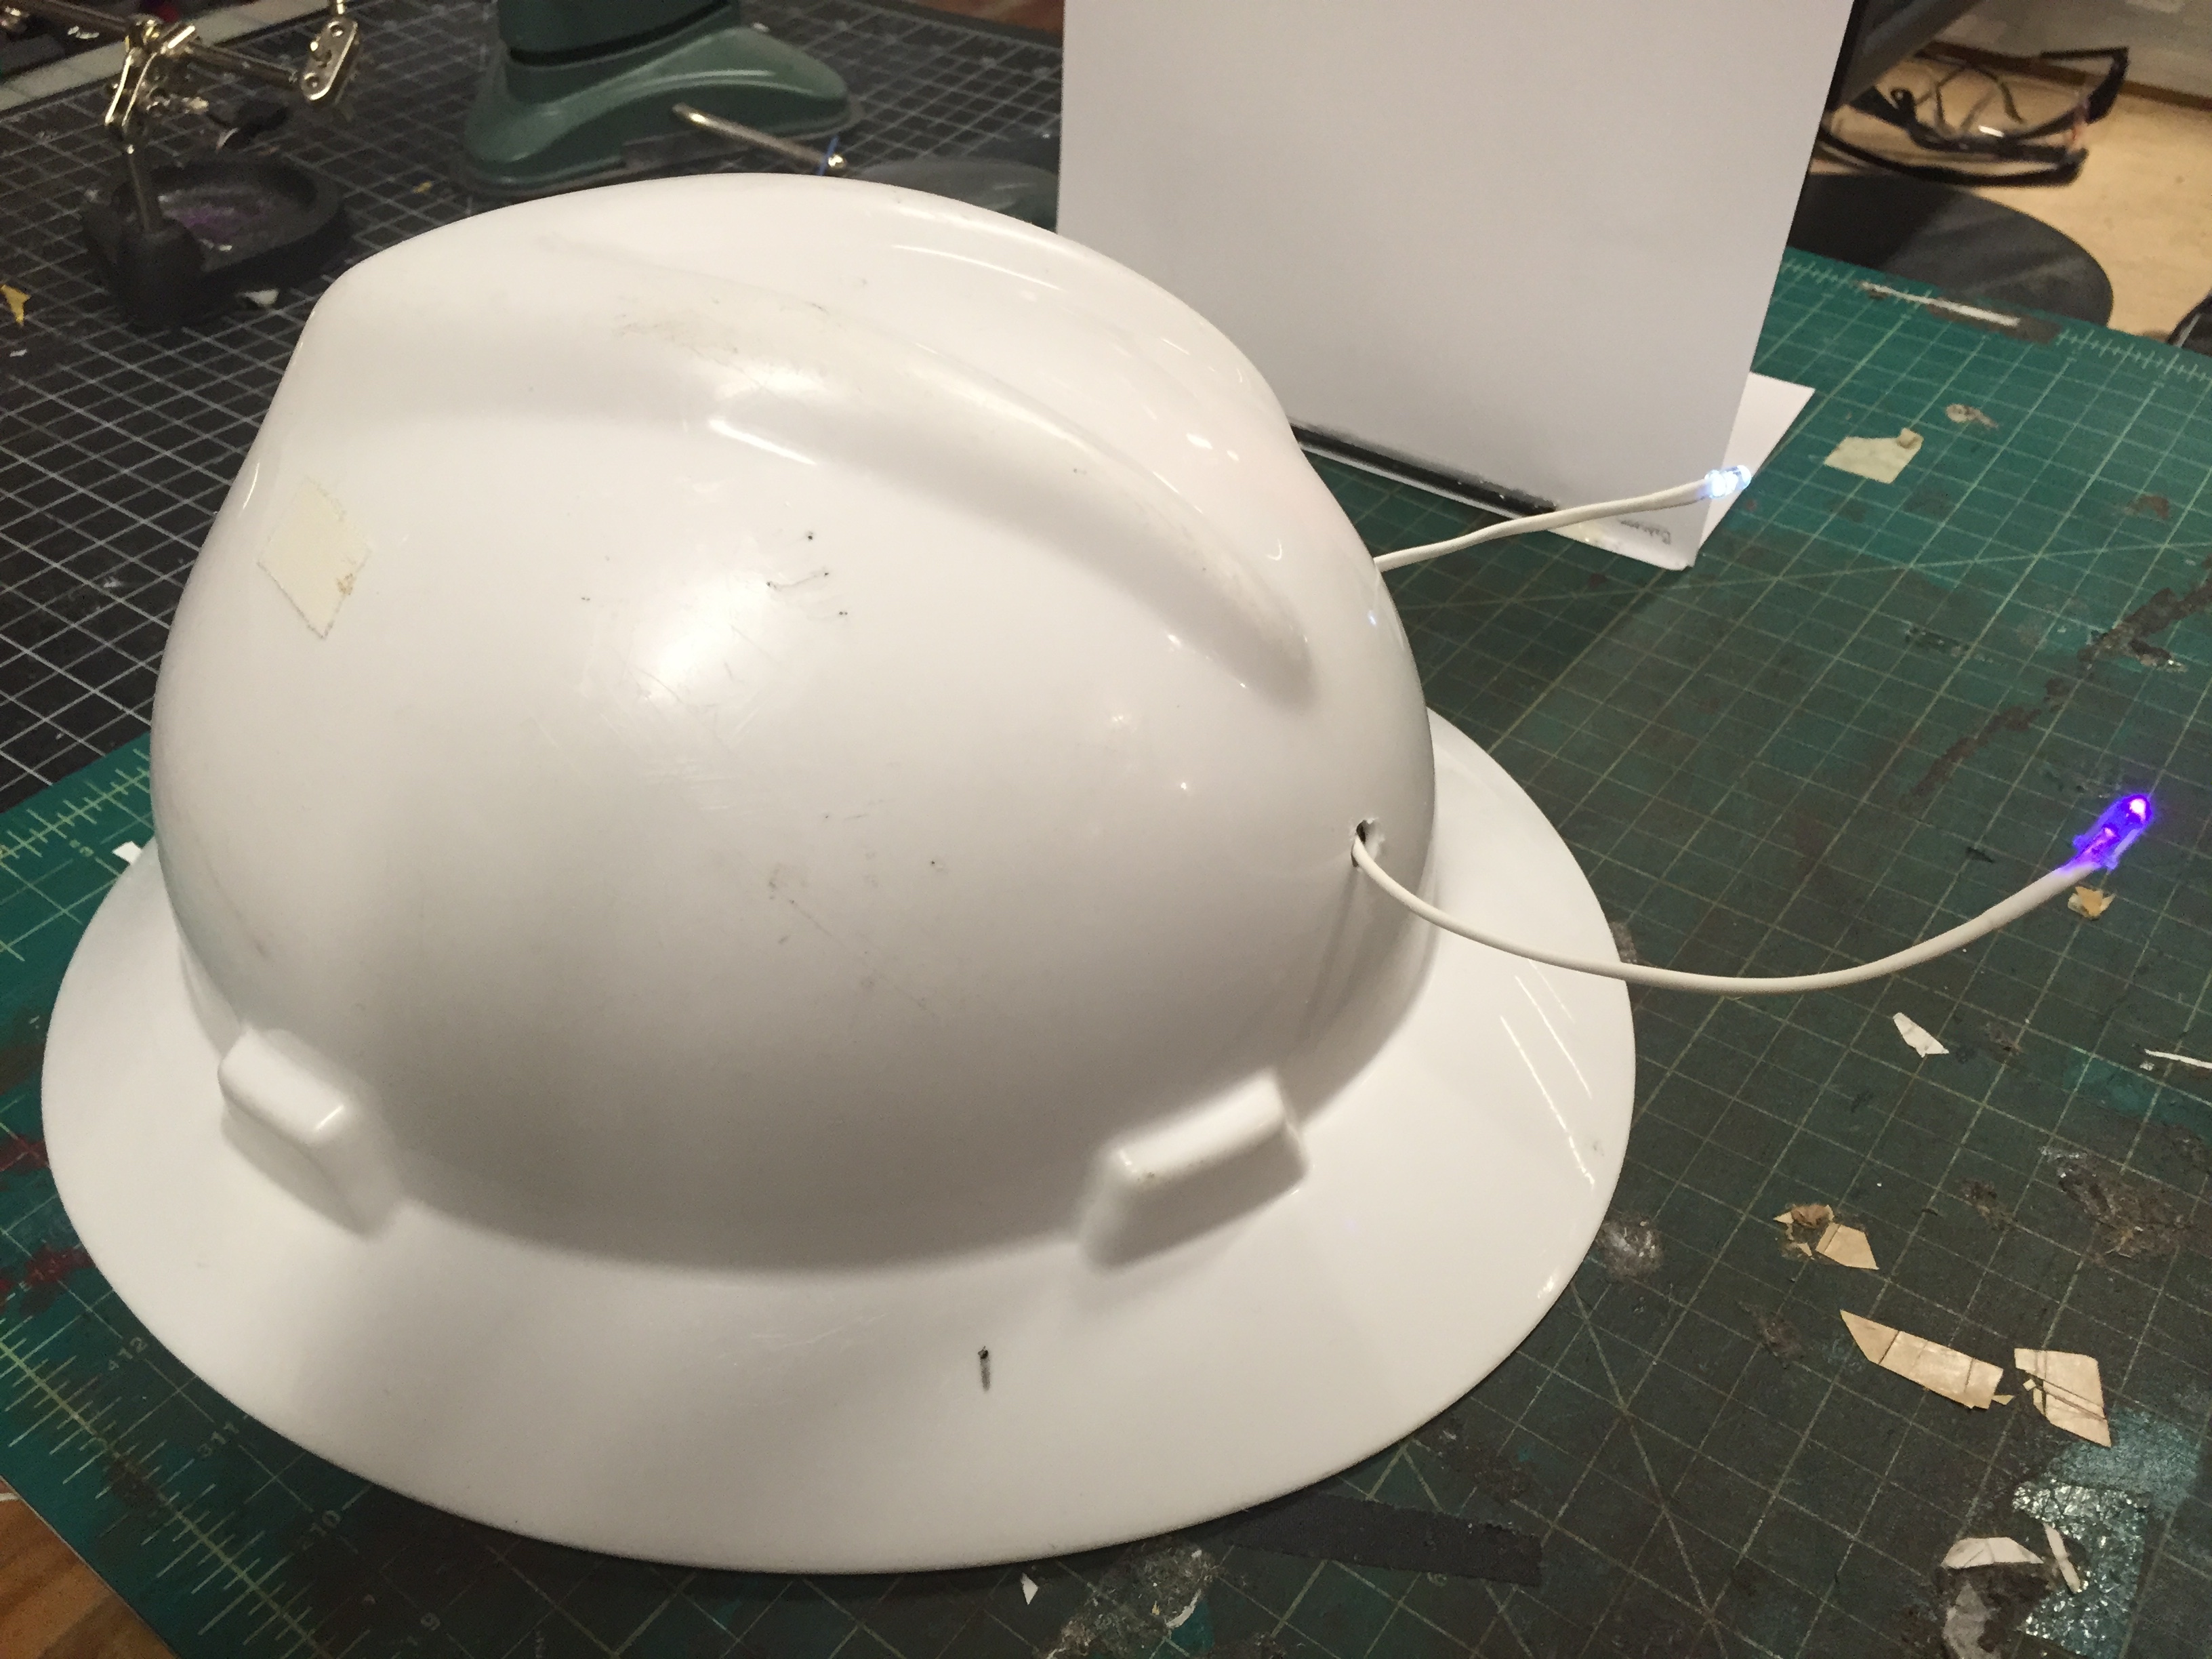
Found the white helmet interesting so I decided to make a head mounted flashlight. The helmet sort of looks like a bug so maybe I can create an antennae and the light would be coming from the antennae’s tips.
Step 2: Wire stuff as quickly as possible.
I remembered seeing antennae-like LED in the Little Bits set we have in the equipment room. A quick attachments here and there….
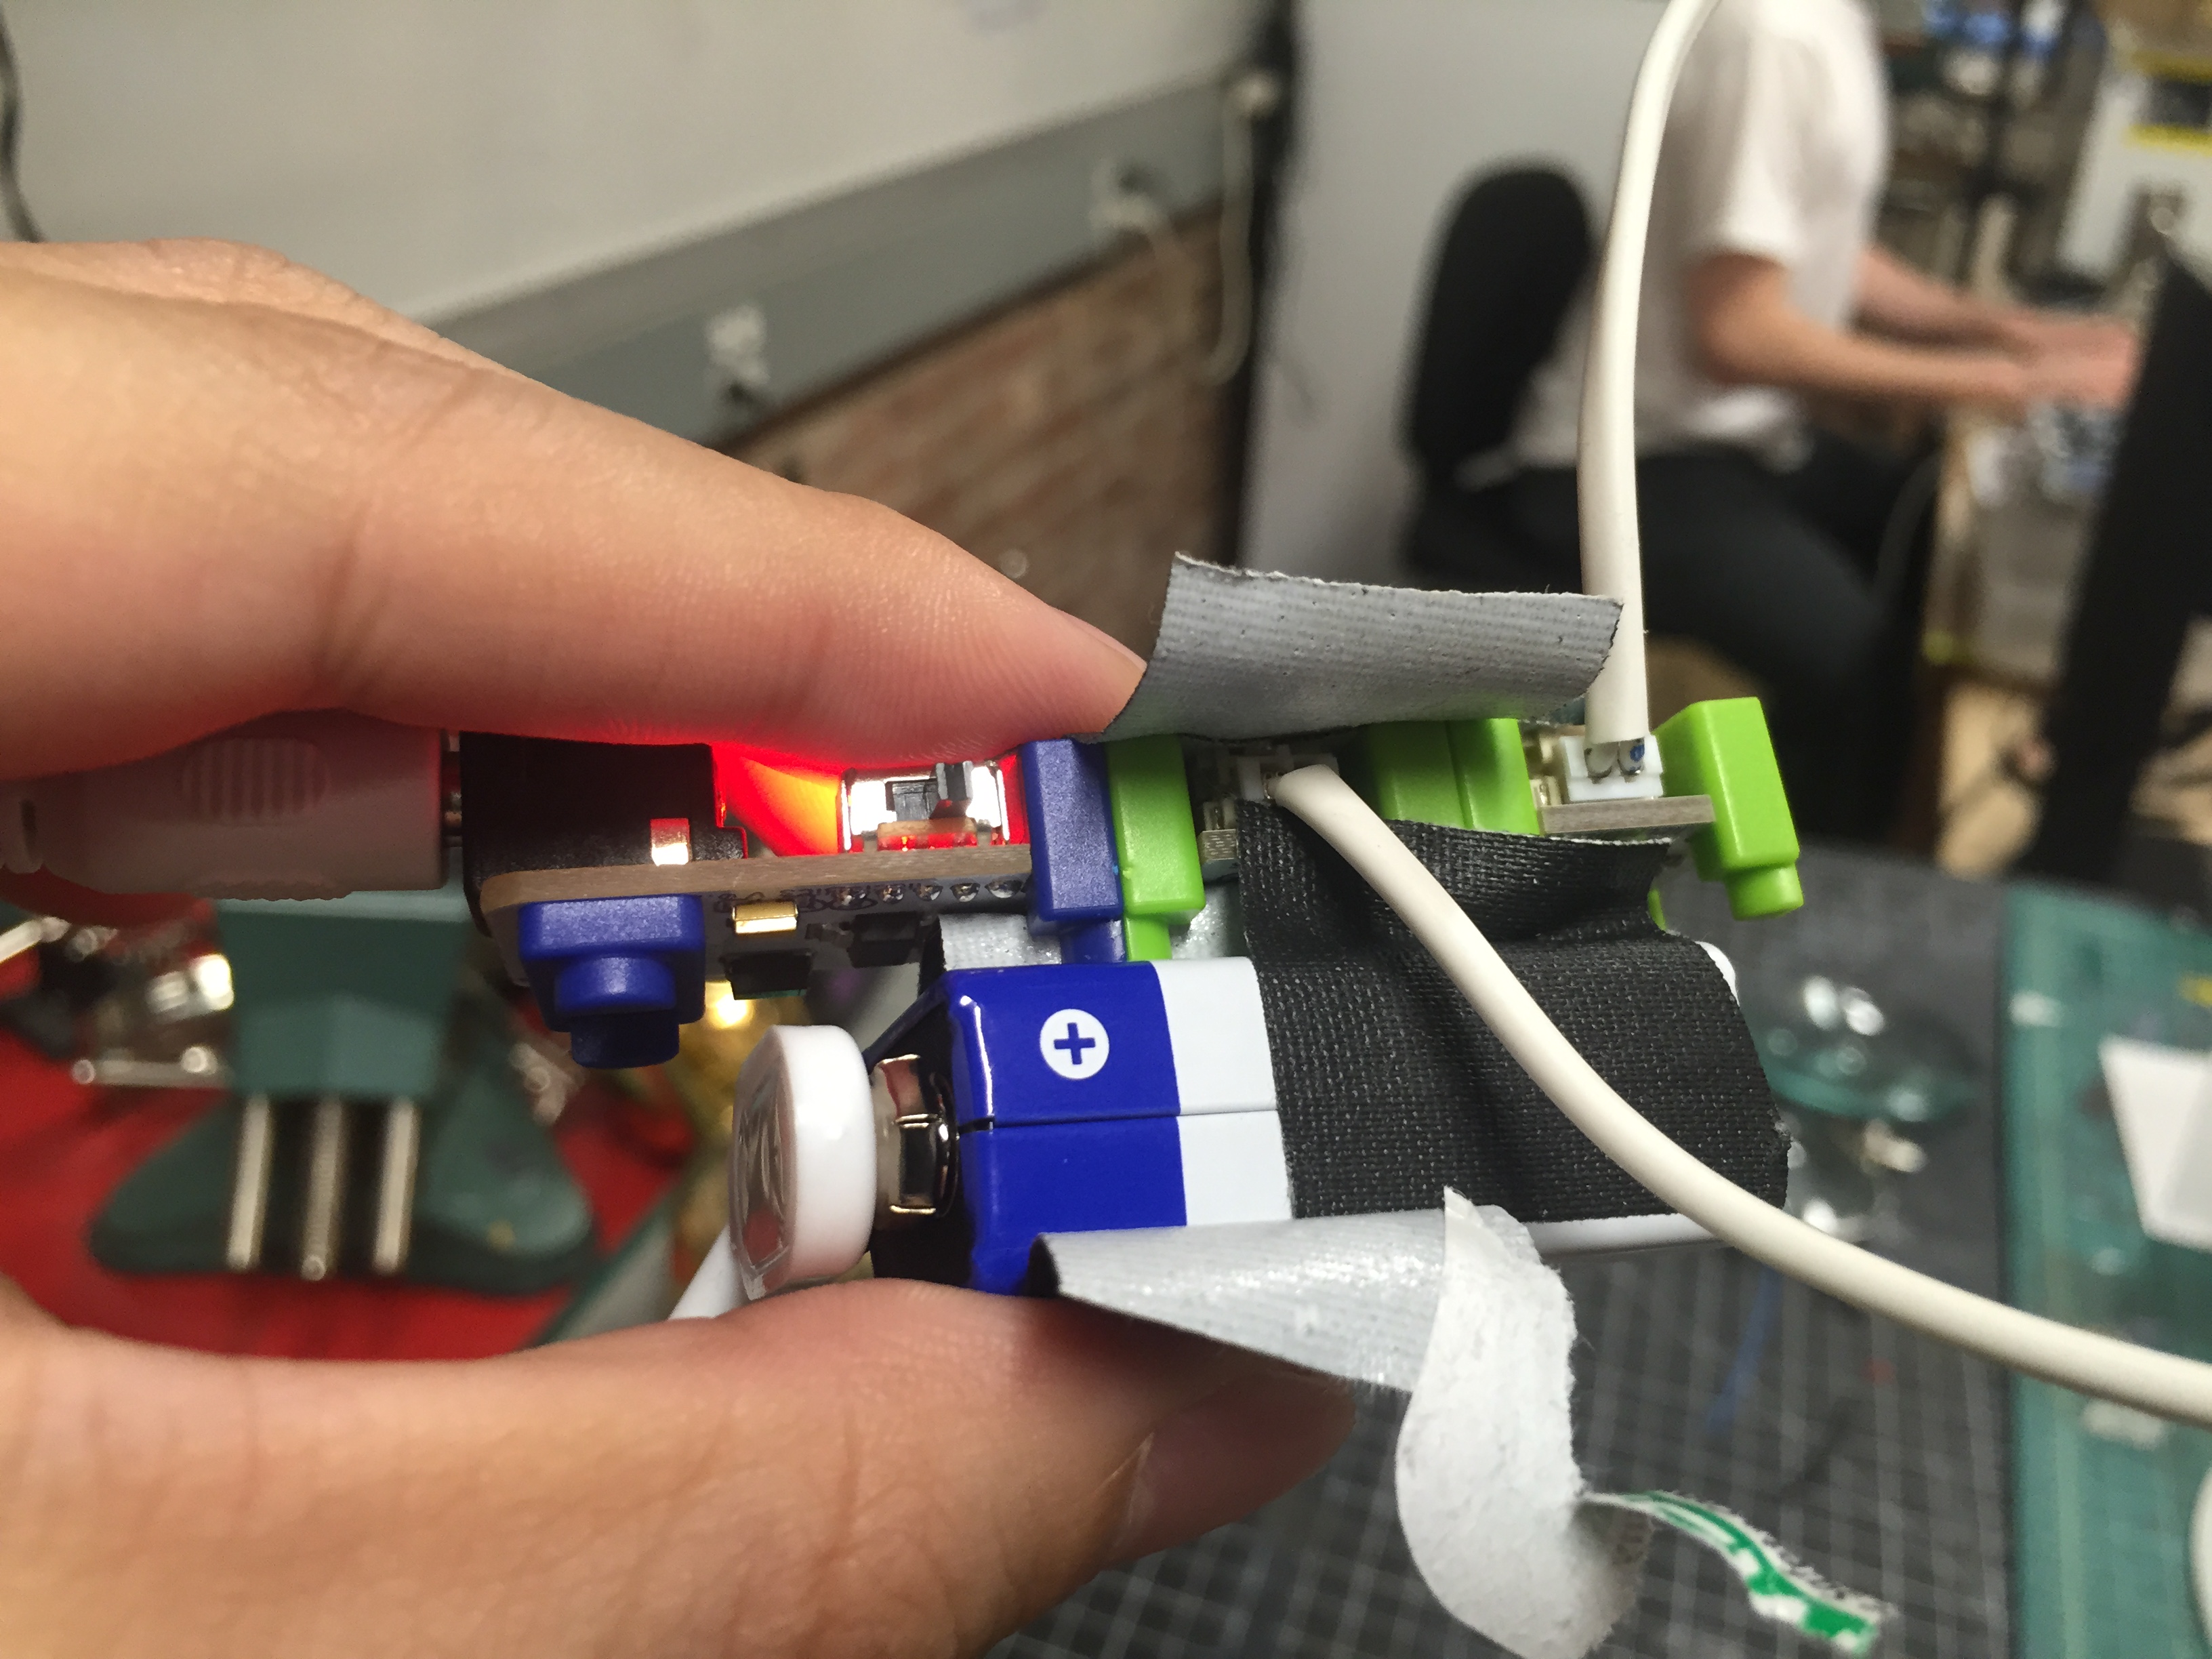
Let there be light!

Step 3: Drill holes!
Used 1/4 drill bit to fit the antennae nicely.

Step 4: Putting everything together!
I’m embarrassed to say I used duct tape and hot glue. Whatever works, works.
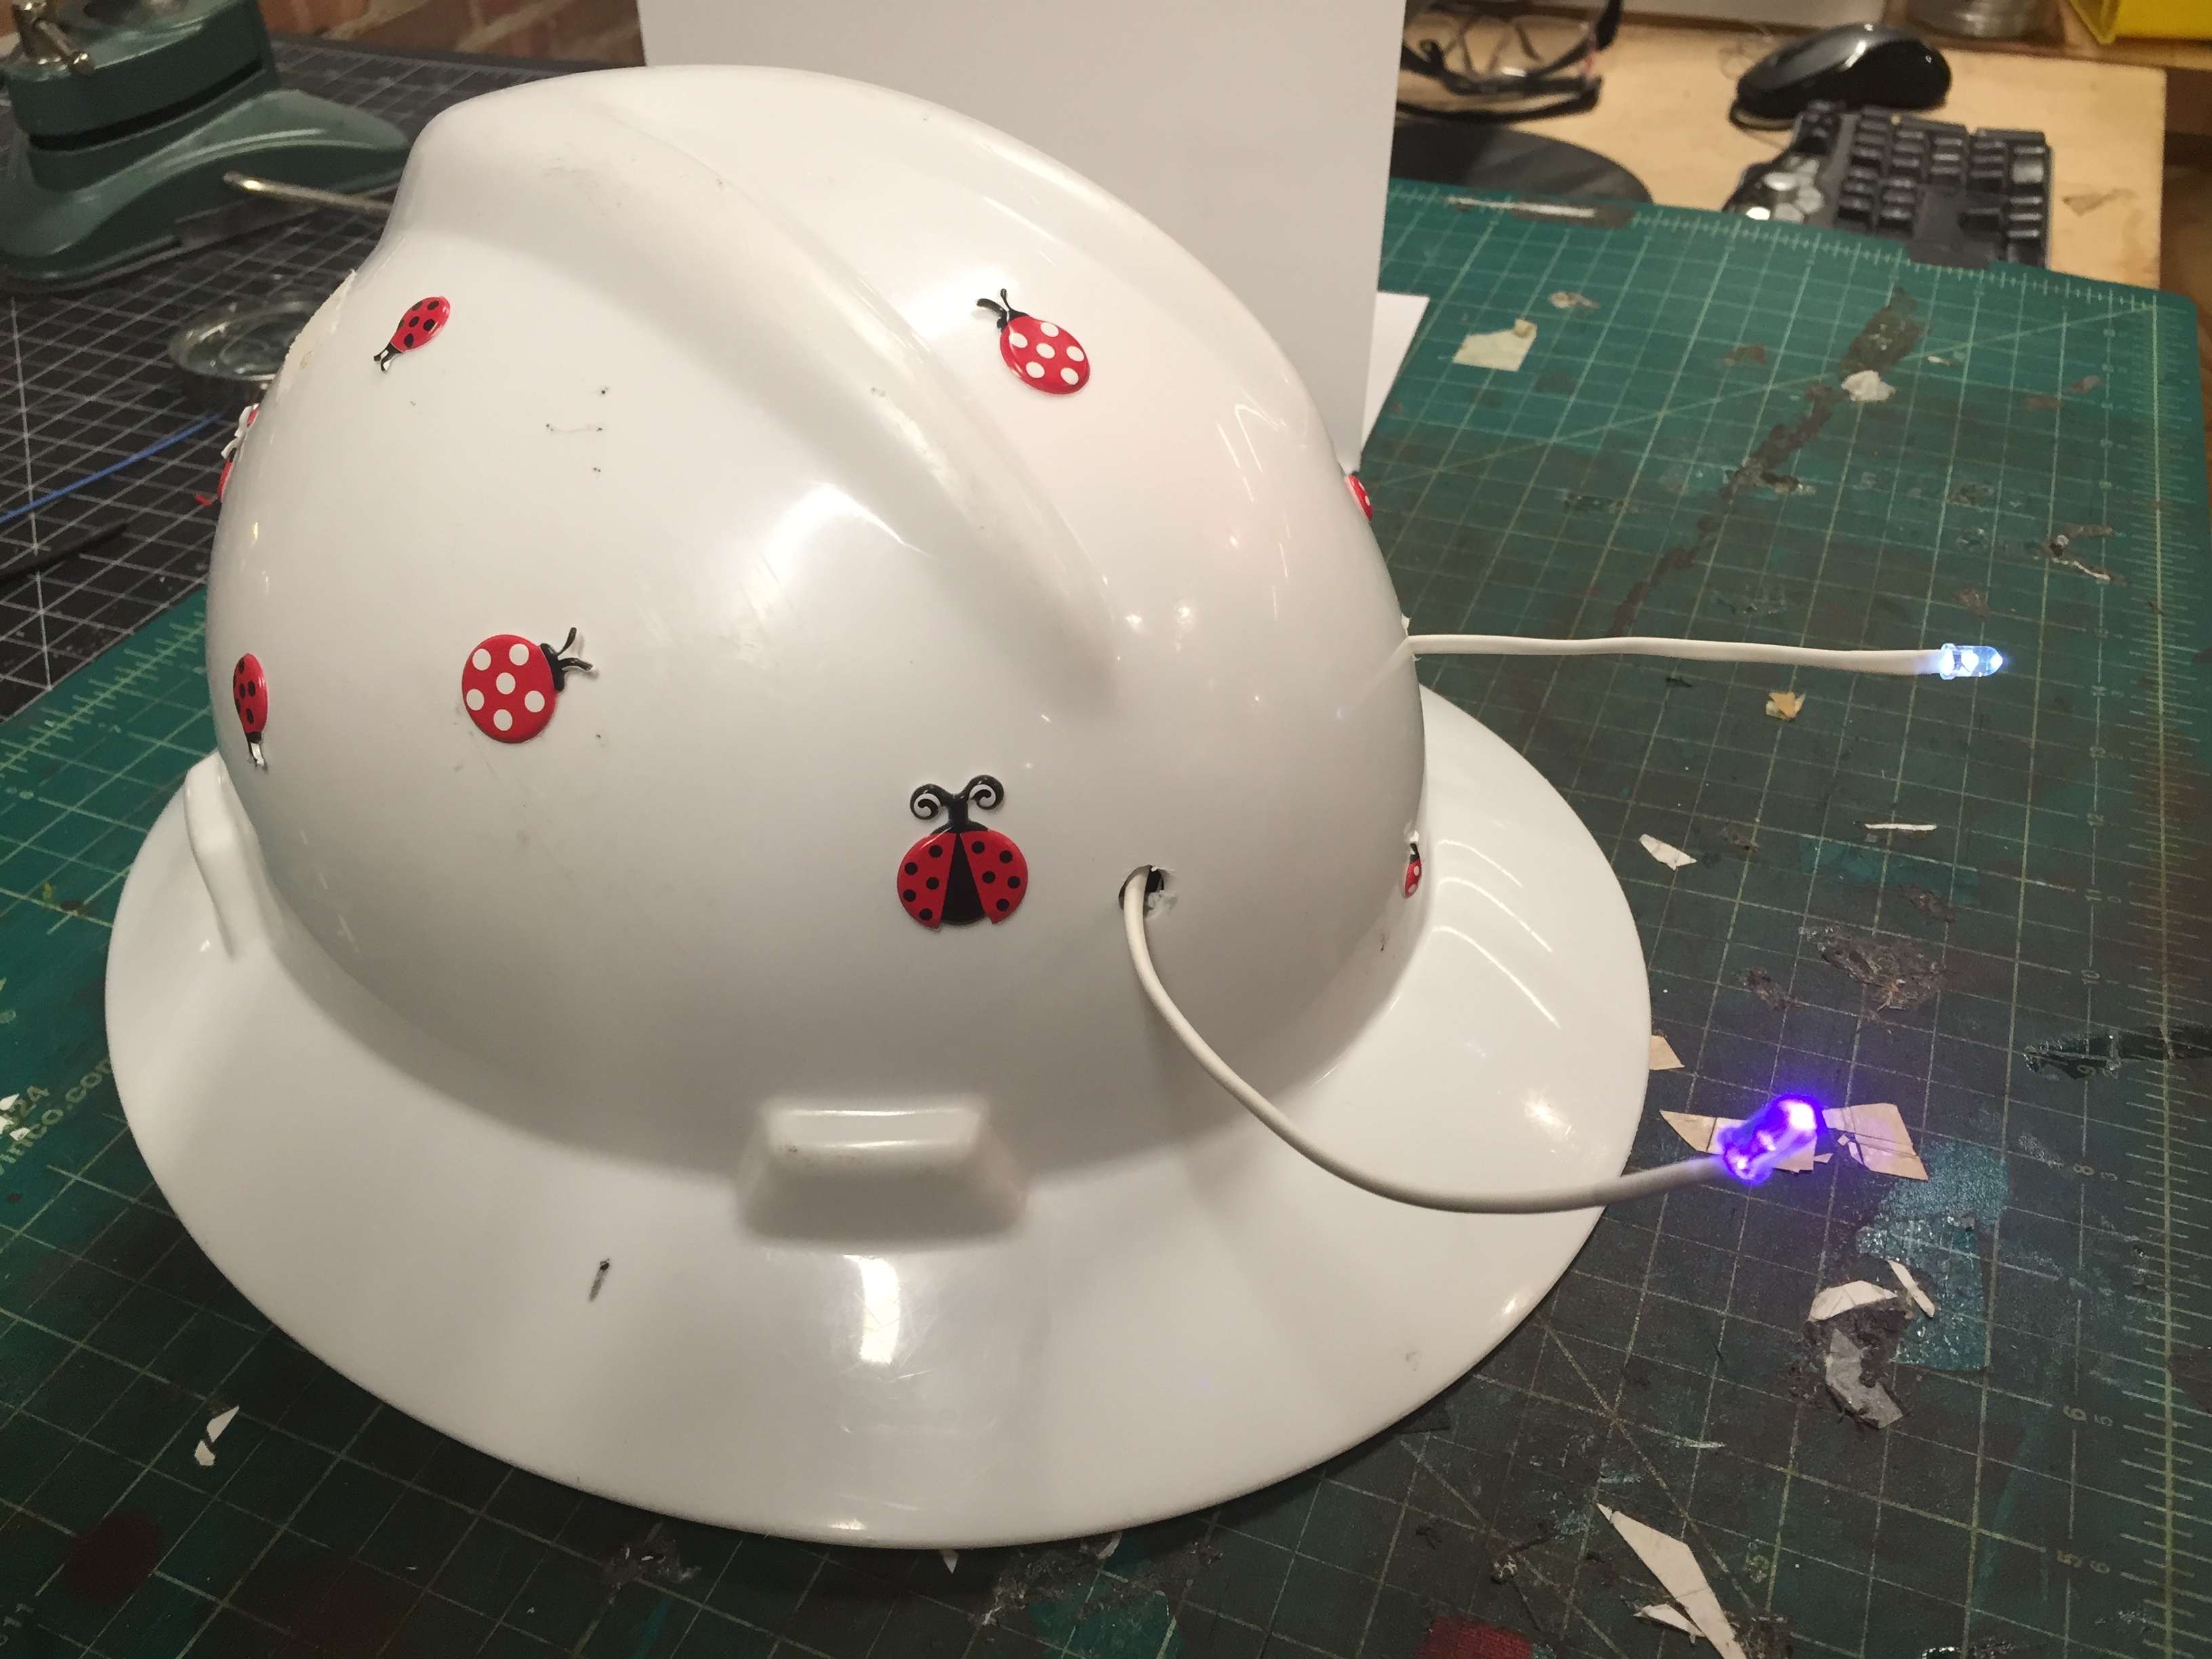
Step 5: Finishing Touches
Not really, my classmate Songee just wanted to stick lady bug stickers for fun!
Ben Light
November 17, 2014 at 4:28 pmGood use of the Little Bits. The bad thing about using Little Bits is you have to take your project apart when you’re done. Great first project.