For intro to Fabrication finals, I decided to create my own pair of Japanese Geta.
Geta (下駄) are traditional Japanese footwear. They are usually worn with a Kimono but also with Western clothing during the summer months. They are also often worn in rain or snow to keep the feet dry, due to their extra height and impermeability.
Prior to coming to ITP, I went on a backpacking trip to Japan and one of things I neglected to purchase is a pair of Geta. Since I figured that I now have basic shop skills, why not make my own?
I also wanted to use wood, particularly oak wood, since I haven’t really worked on anything with wood throughout the semester.
Material List:
- 4x oak wood 2″x2″
- 2x 1/4″ dowel
- 1/4″ abaca (Manila) rope
- wood glue
Steps:
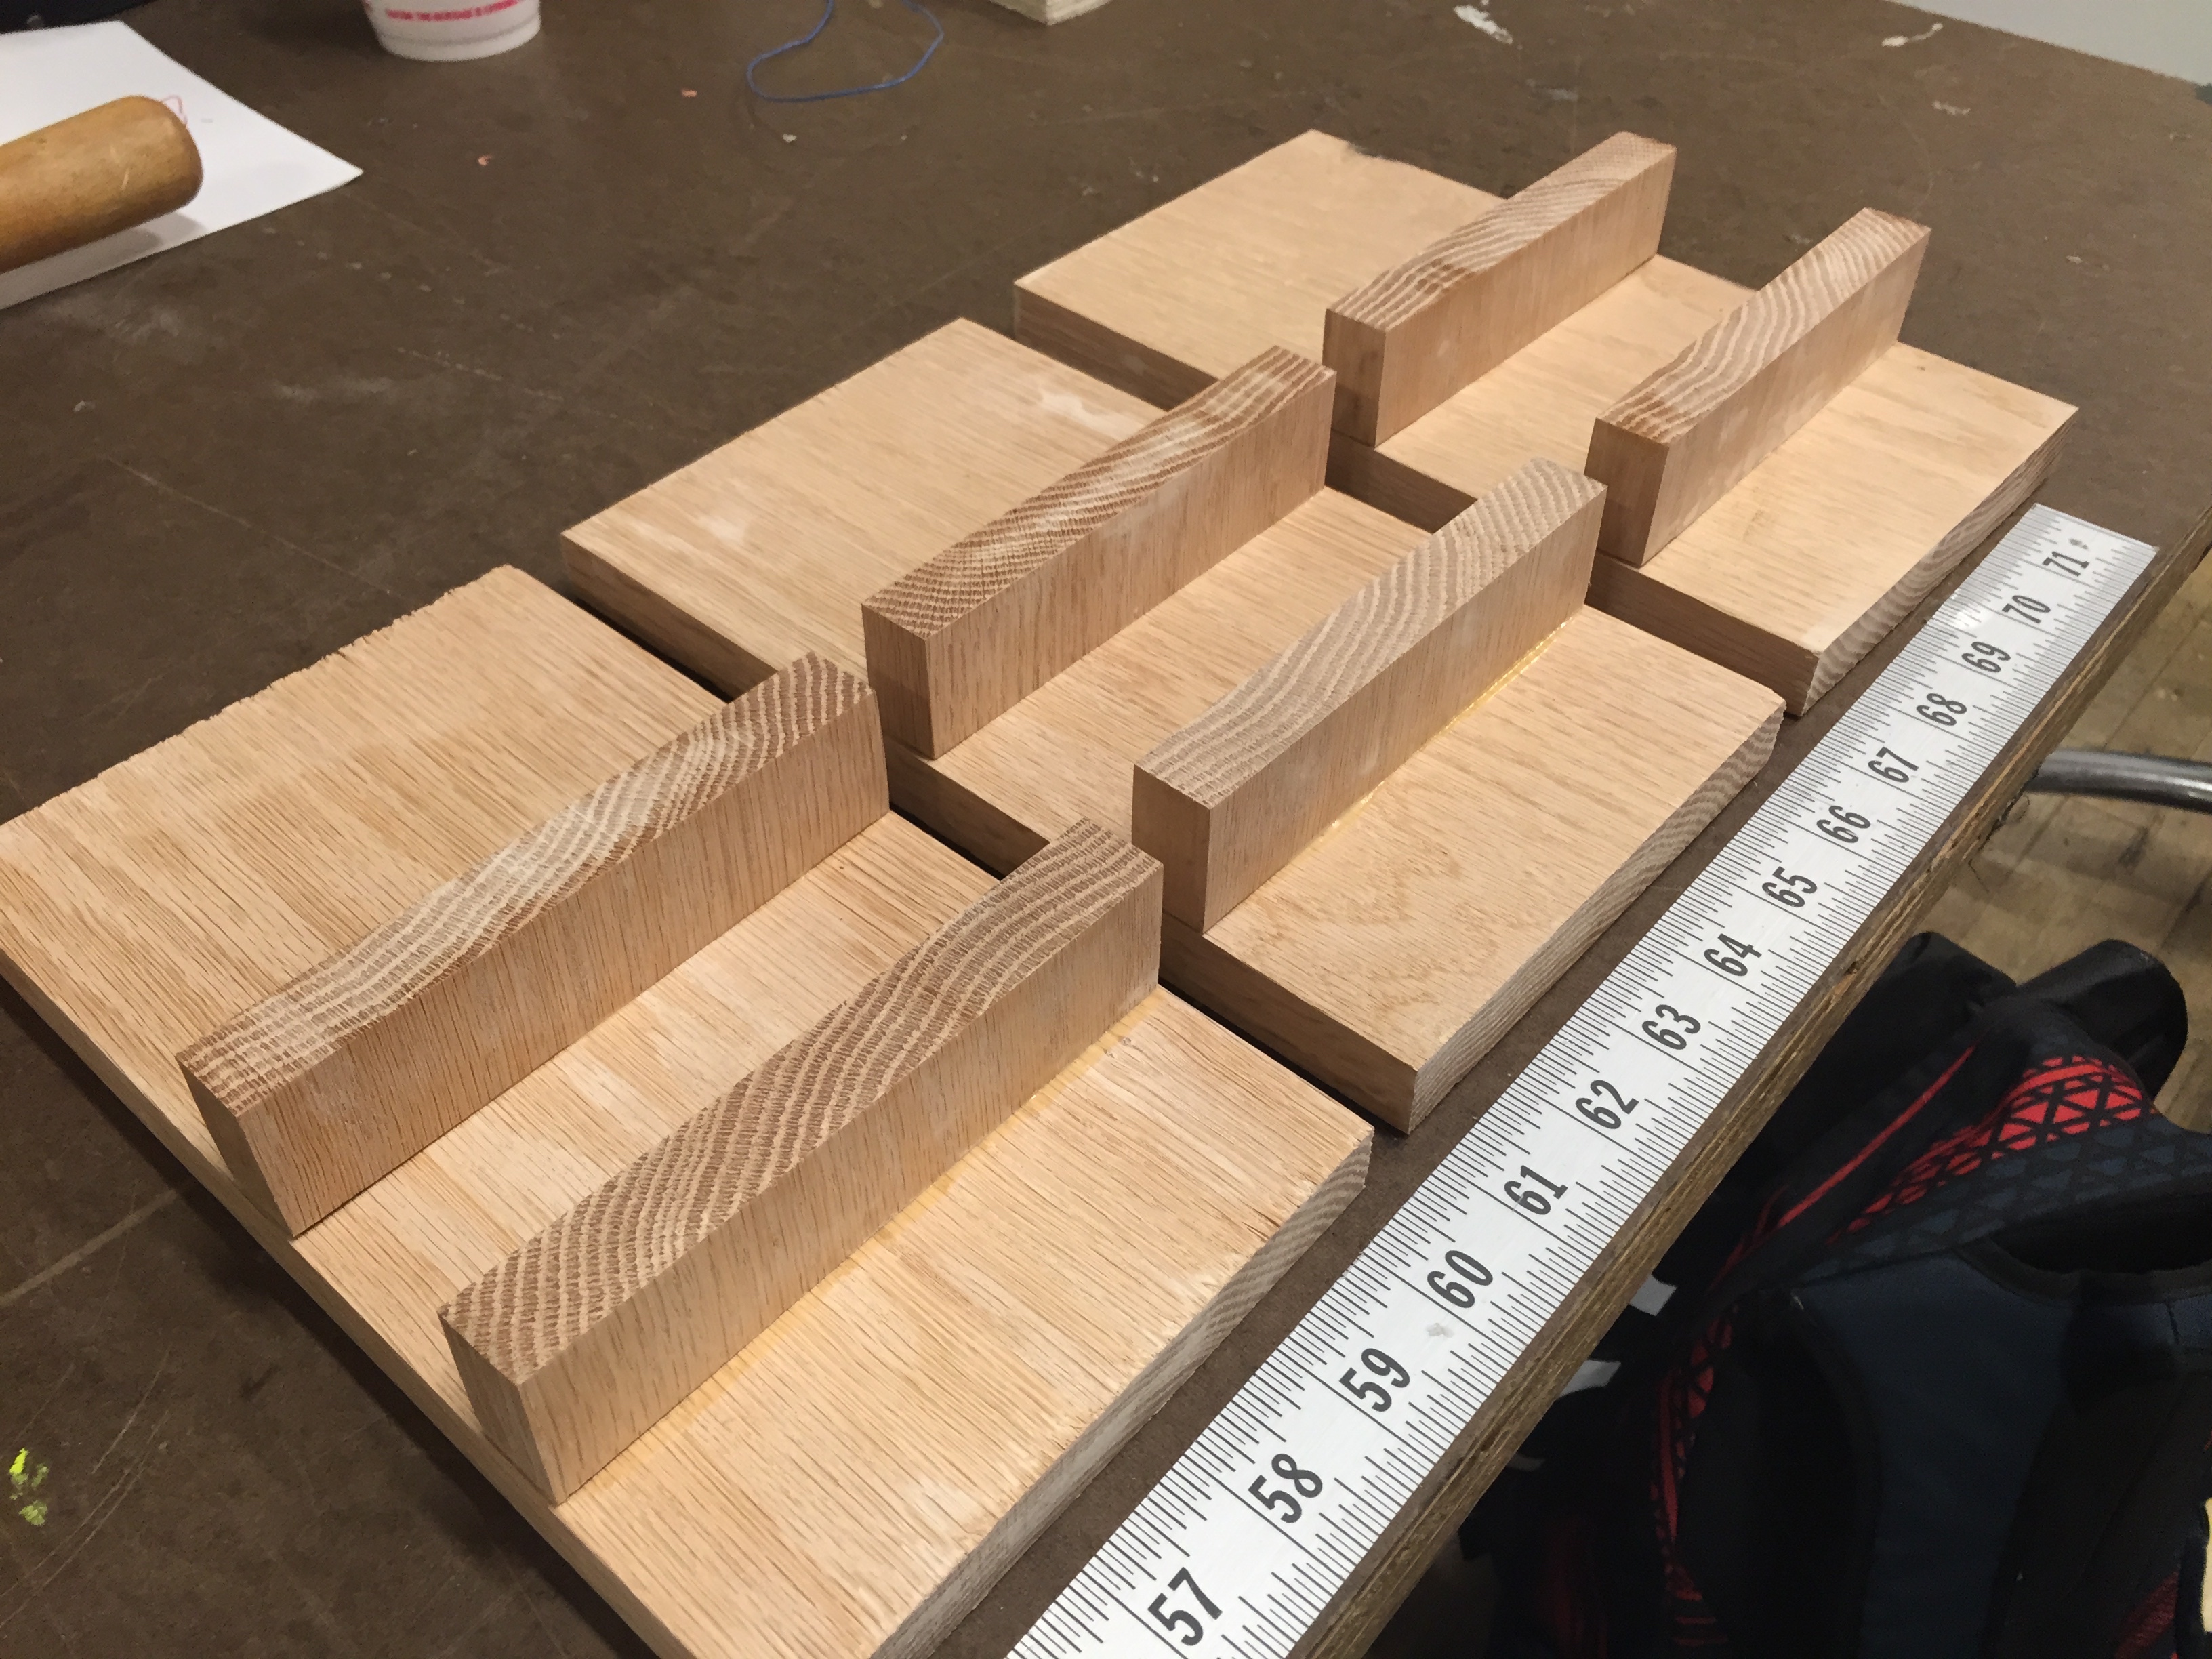
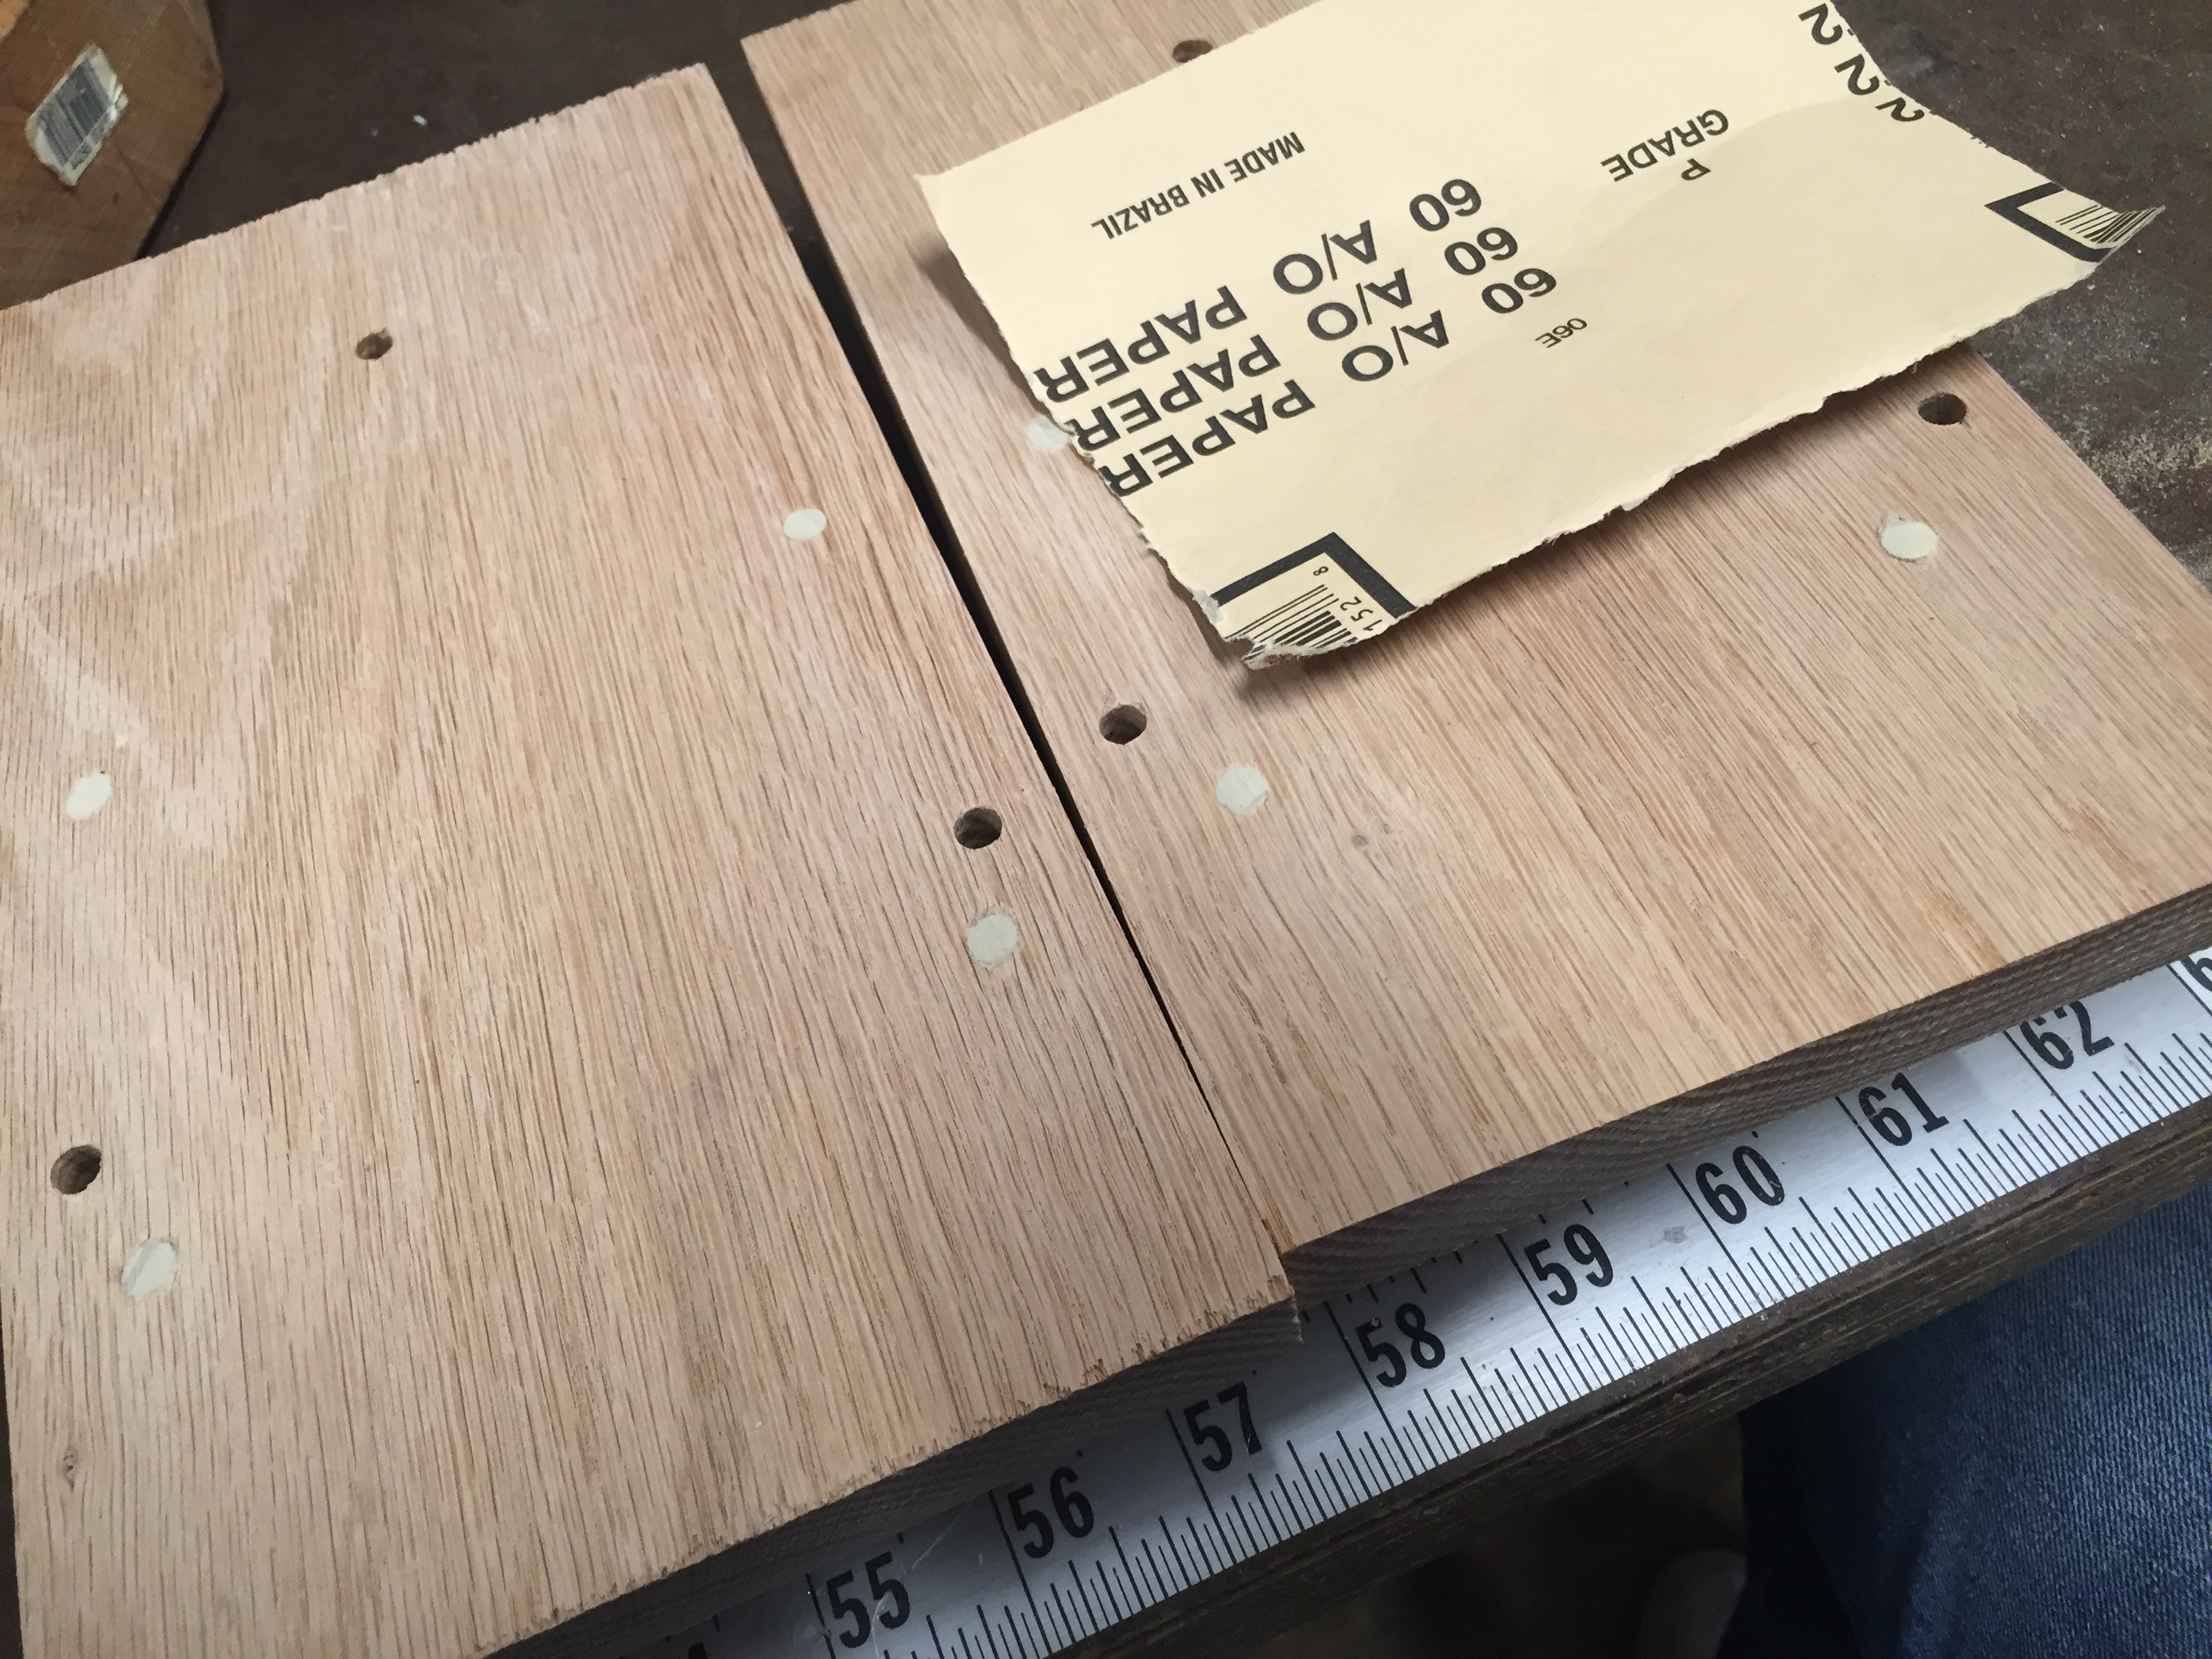
Step 1. Chop the wood 5″ wide, 10″ tall
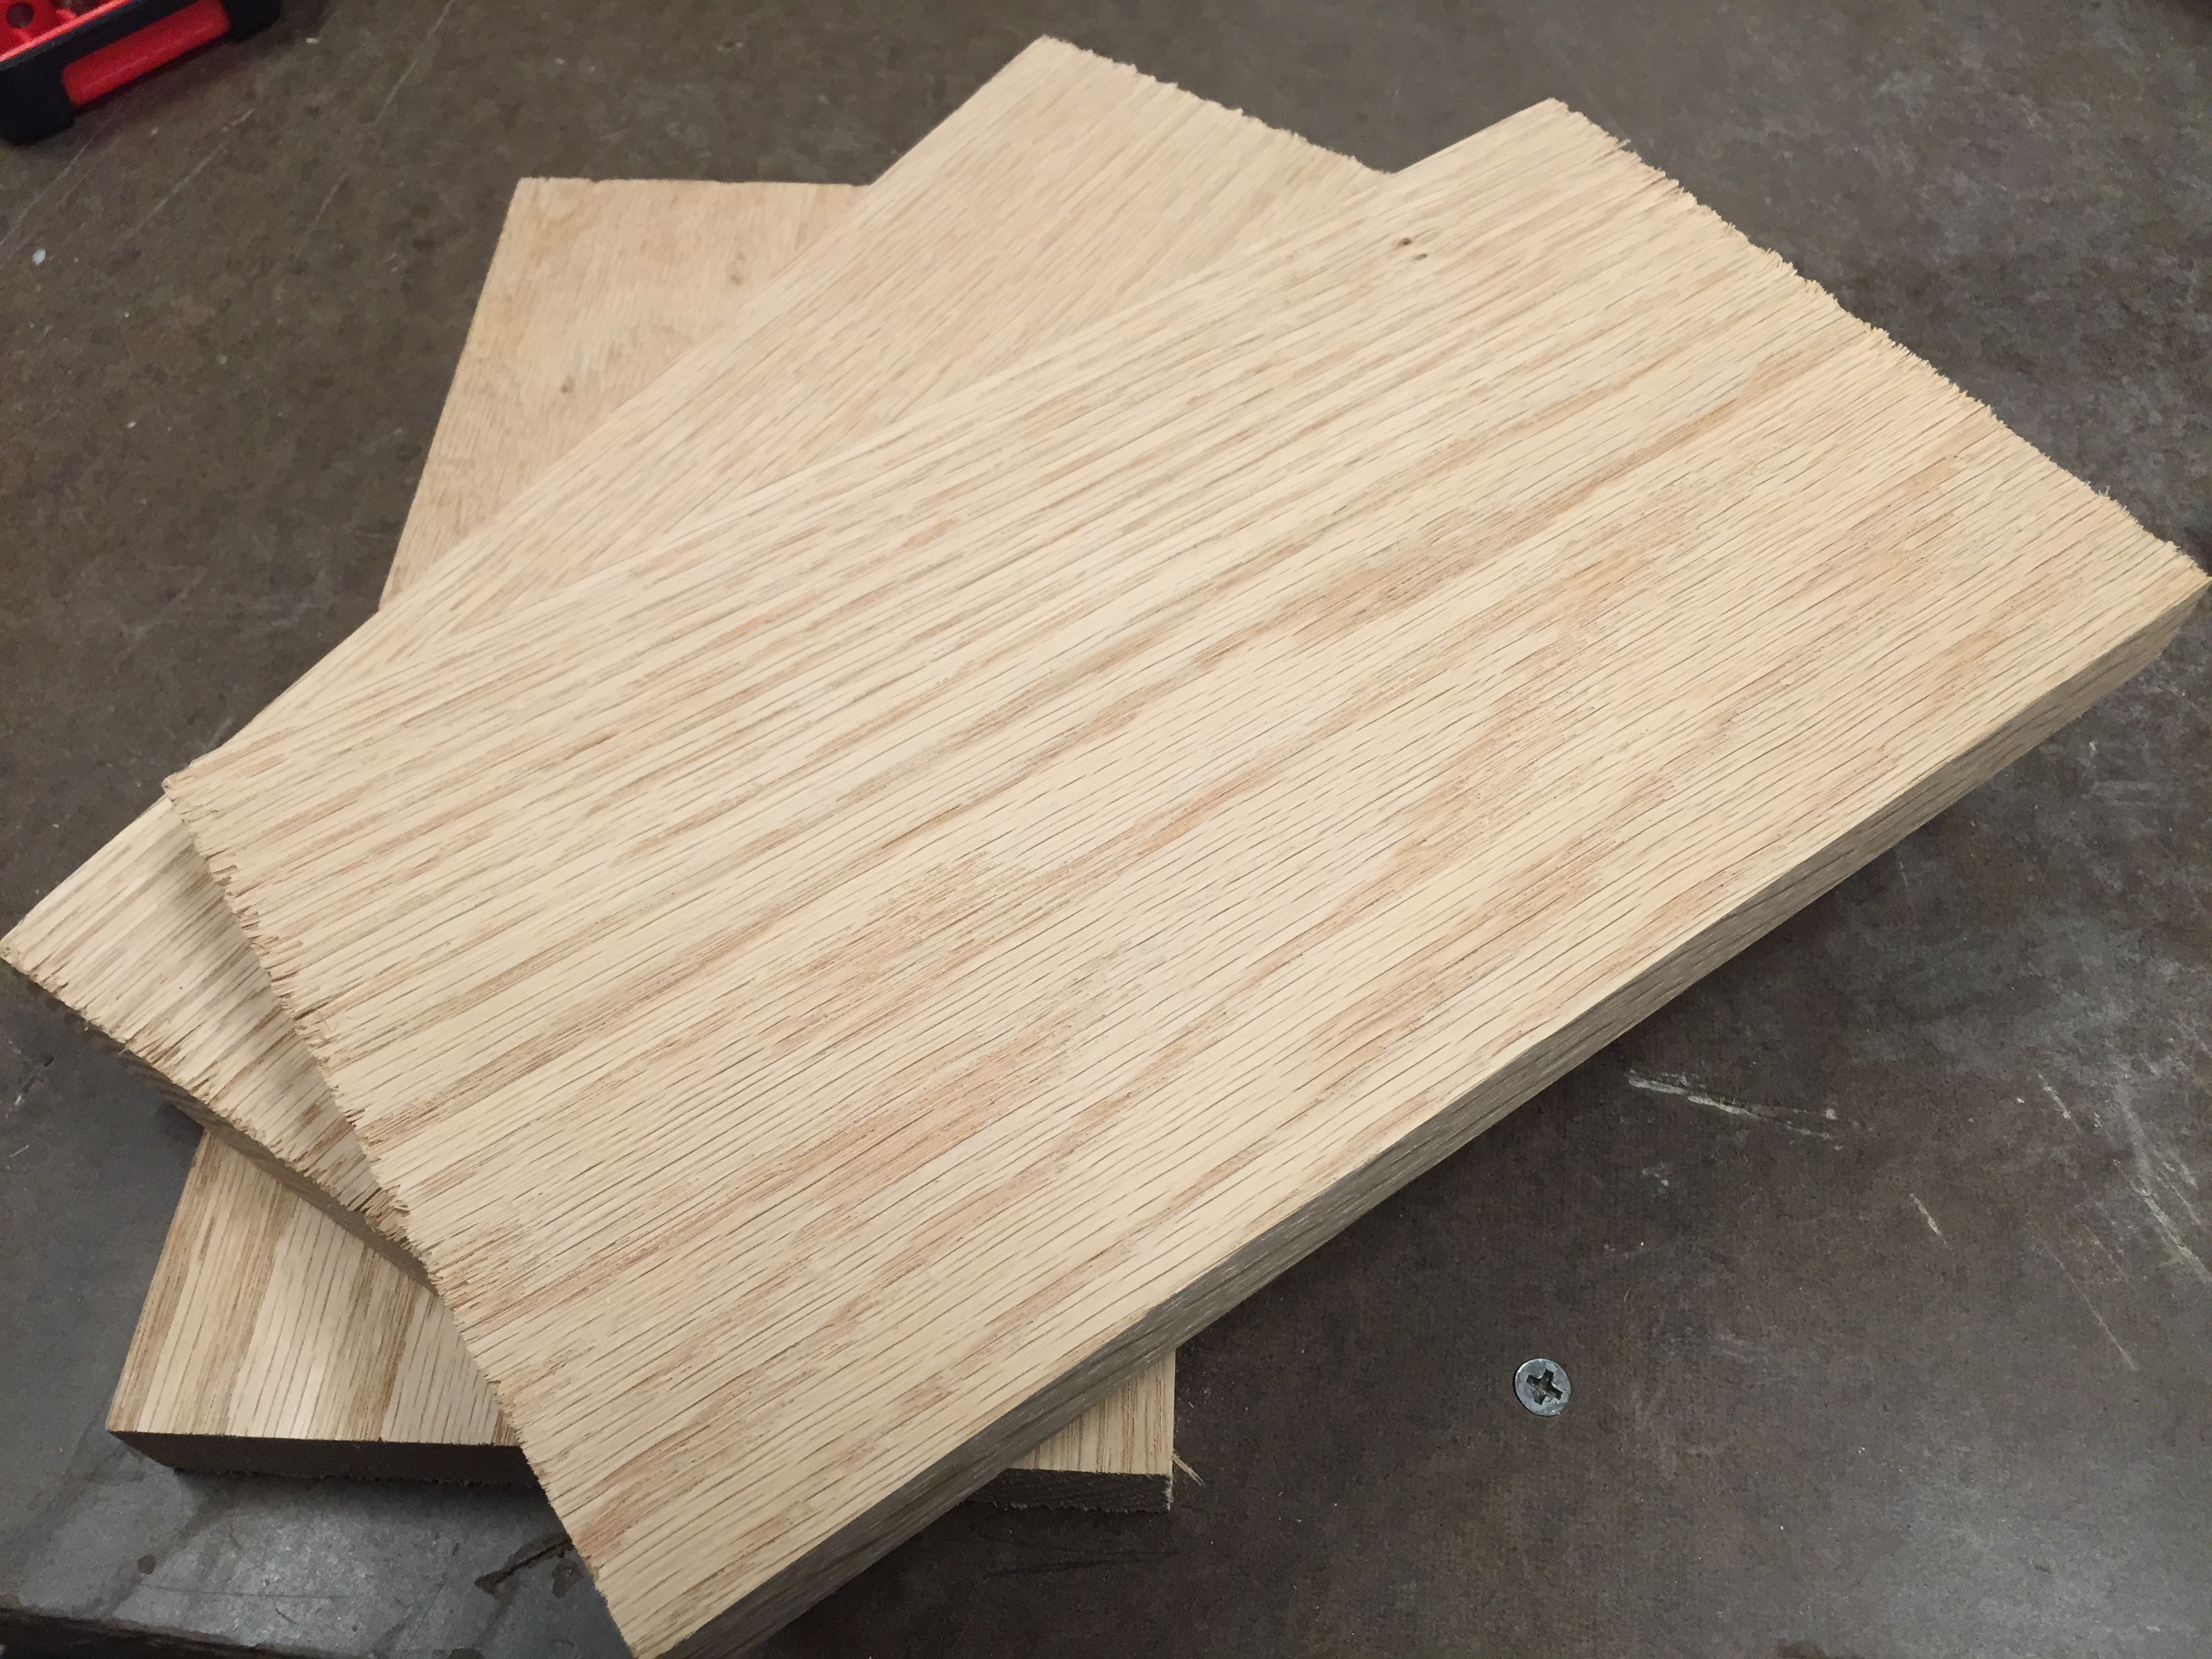
These 5″x10″ approximately the dimensions of my sports shoes, I added a little bit of extra room for adjustments later on (sanding etc.).
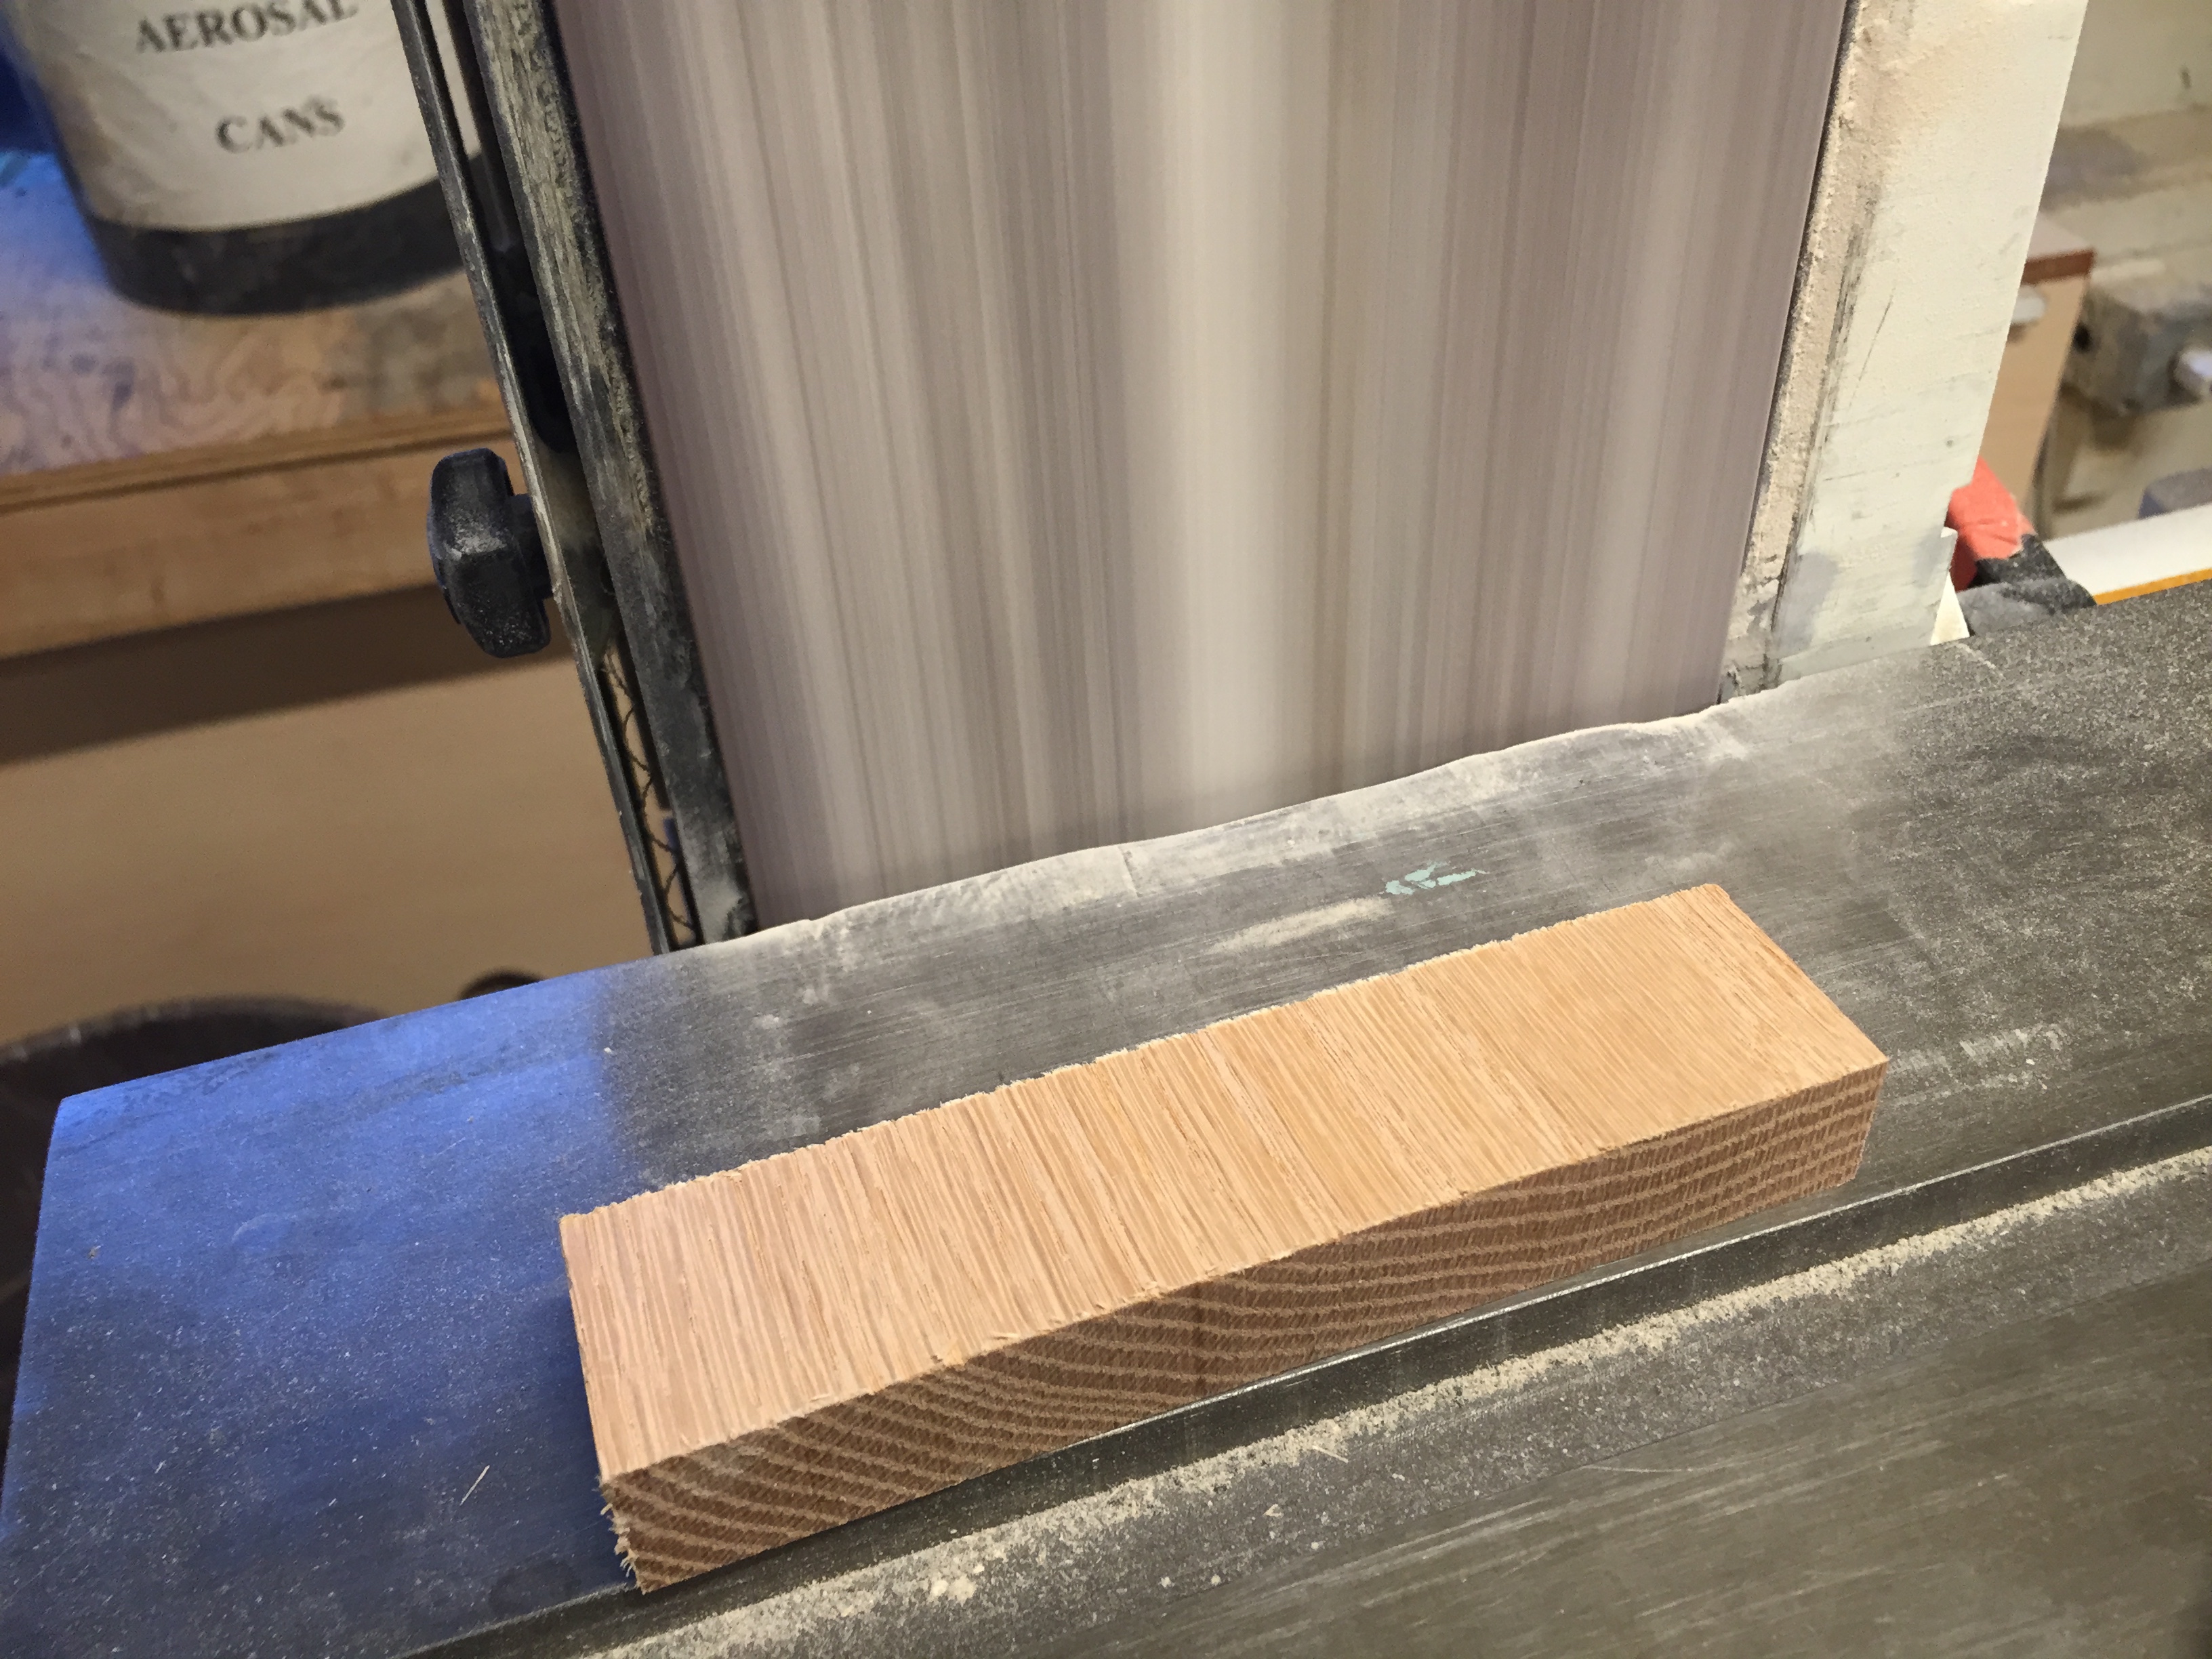
Step 2. Cut 1.5″ thick wood for the legs.

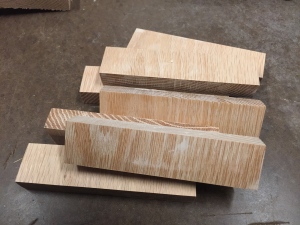
Step 3. Sand the legs
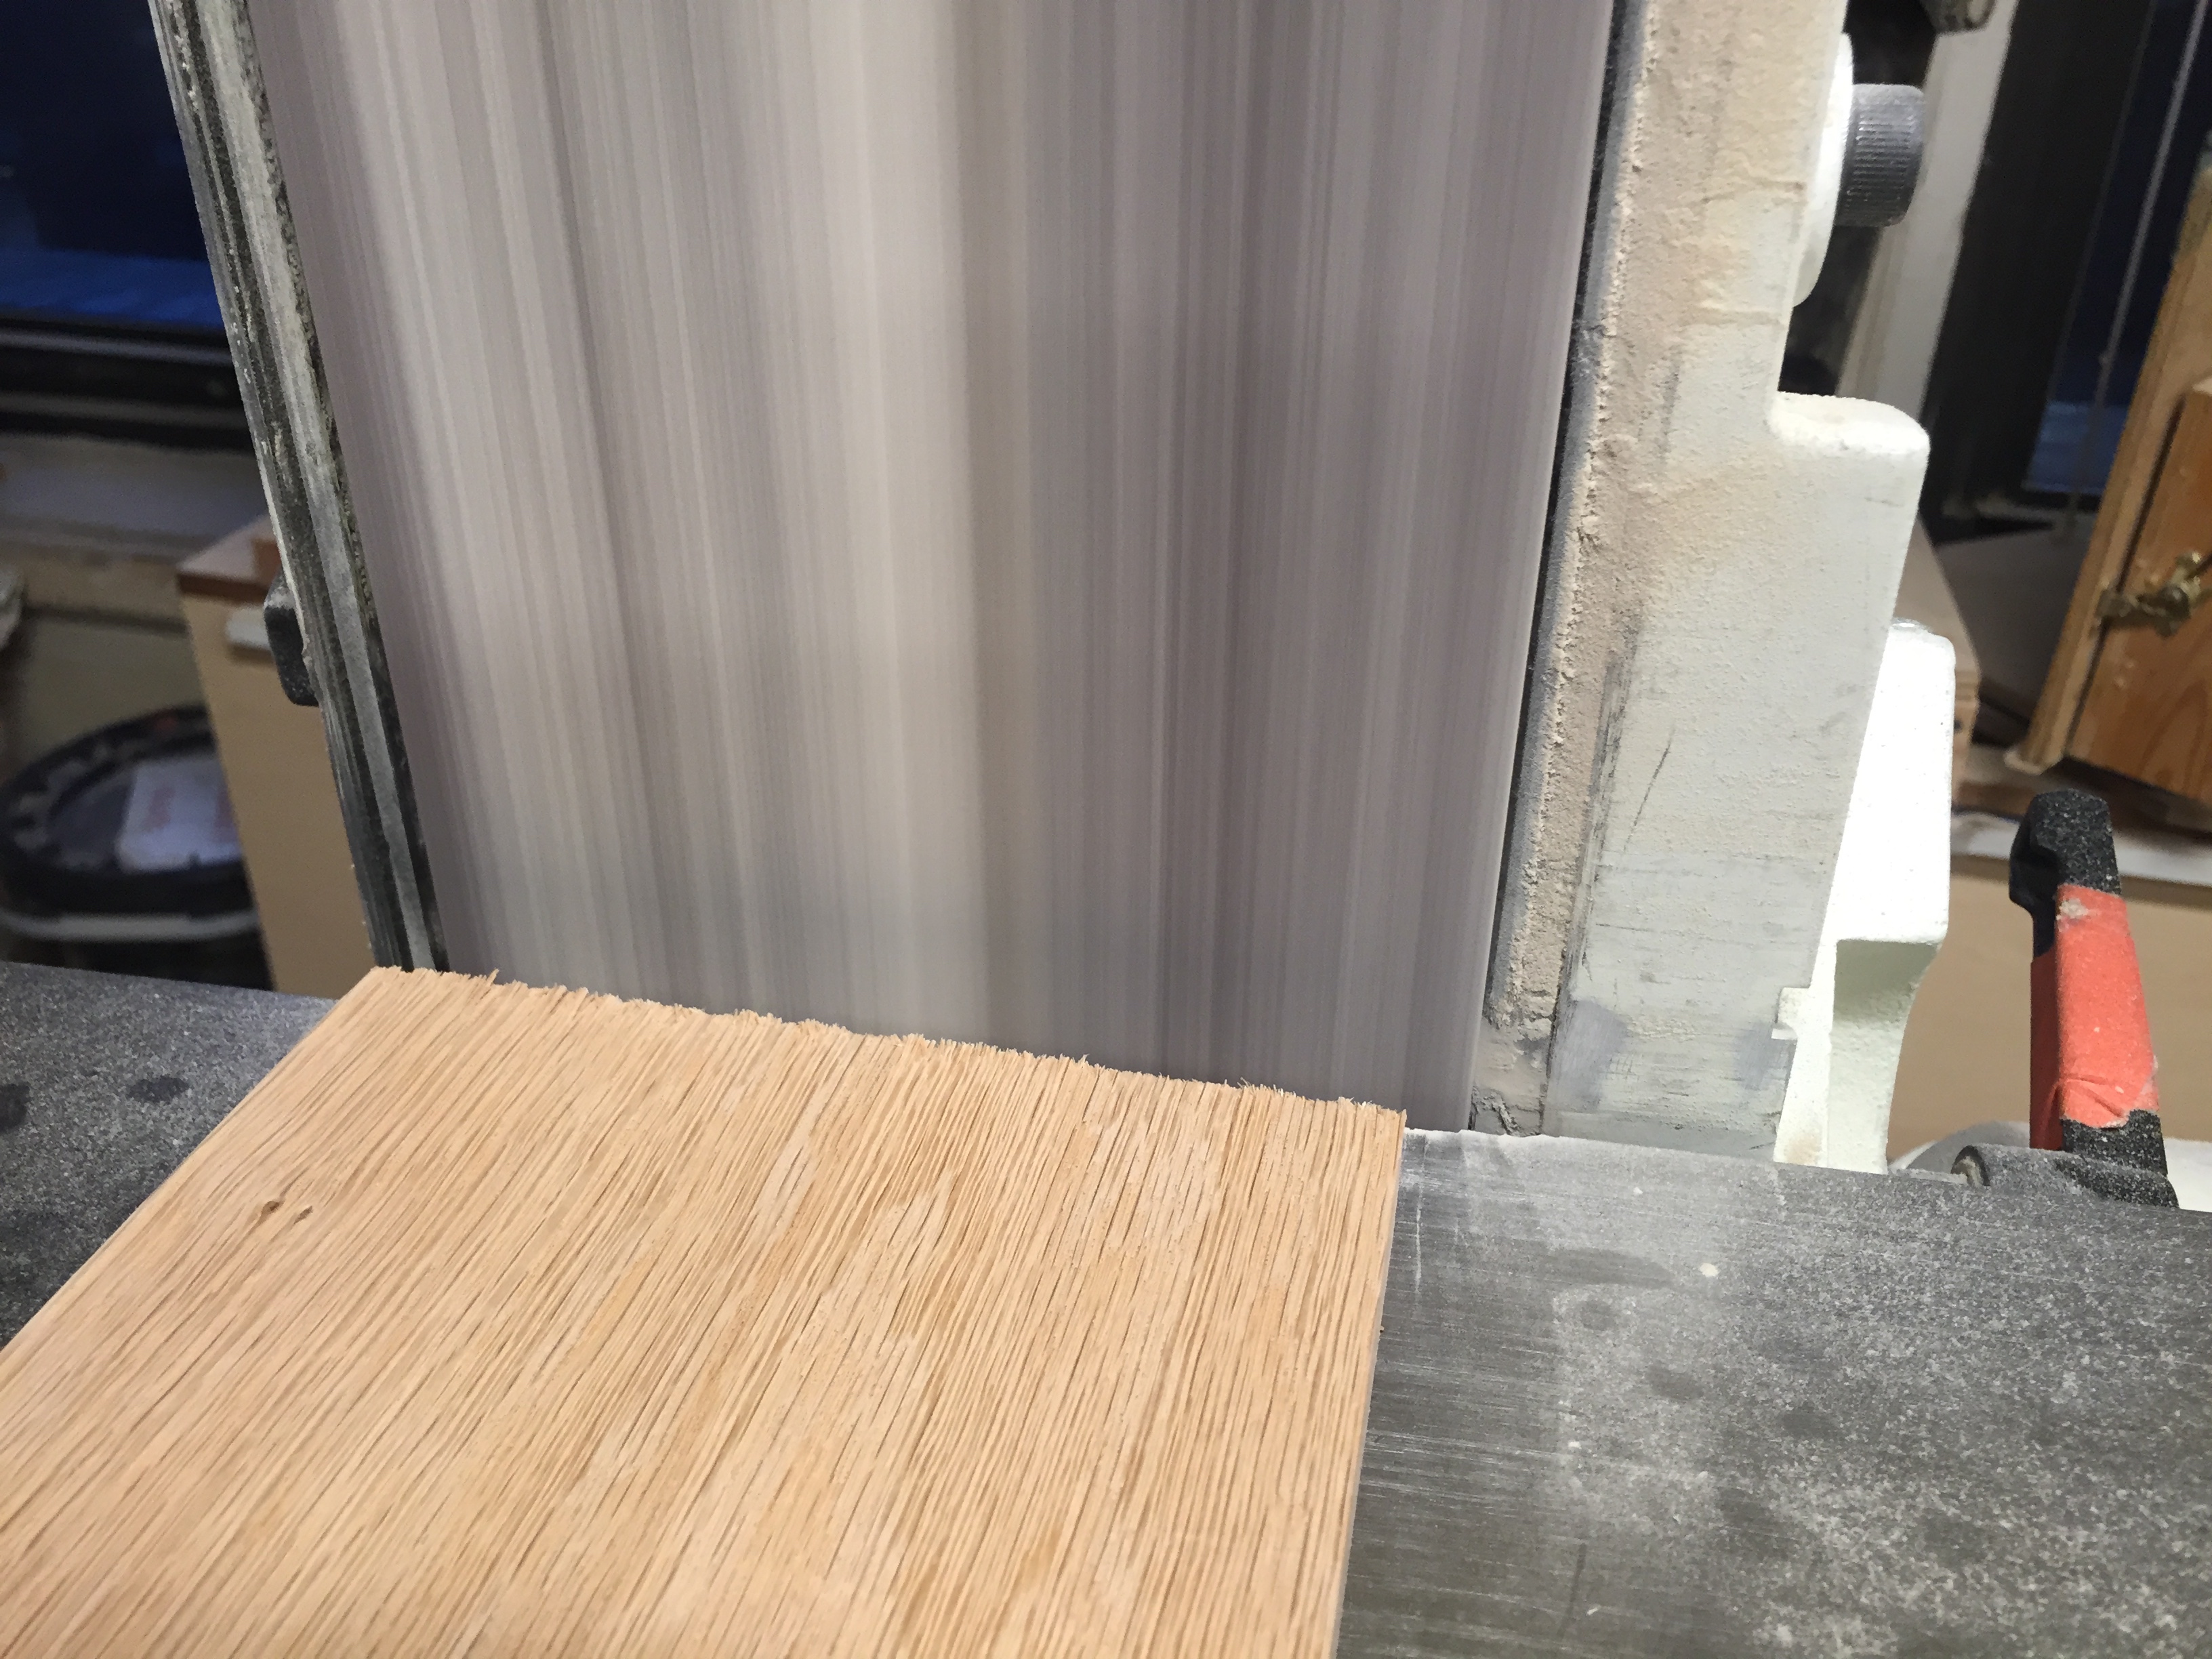
I did an initial sanding, especially the legs, because I figured It might be hard to sand the legs once these are attached to the base.
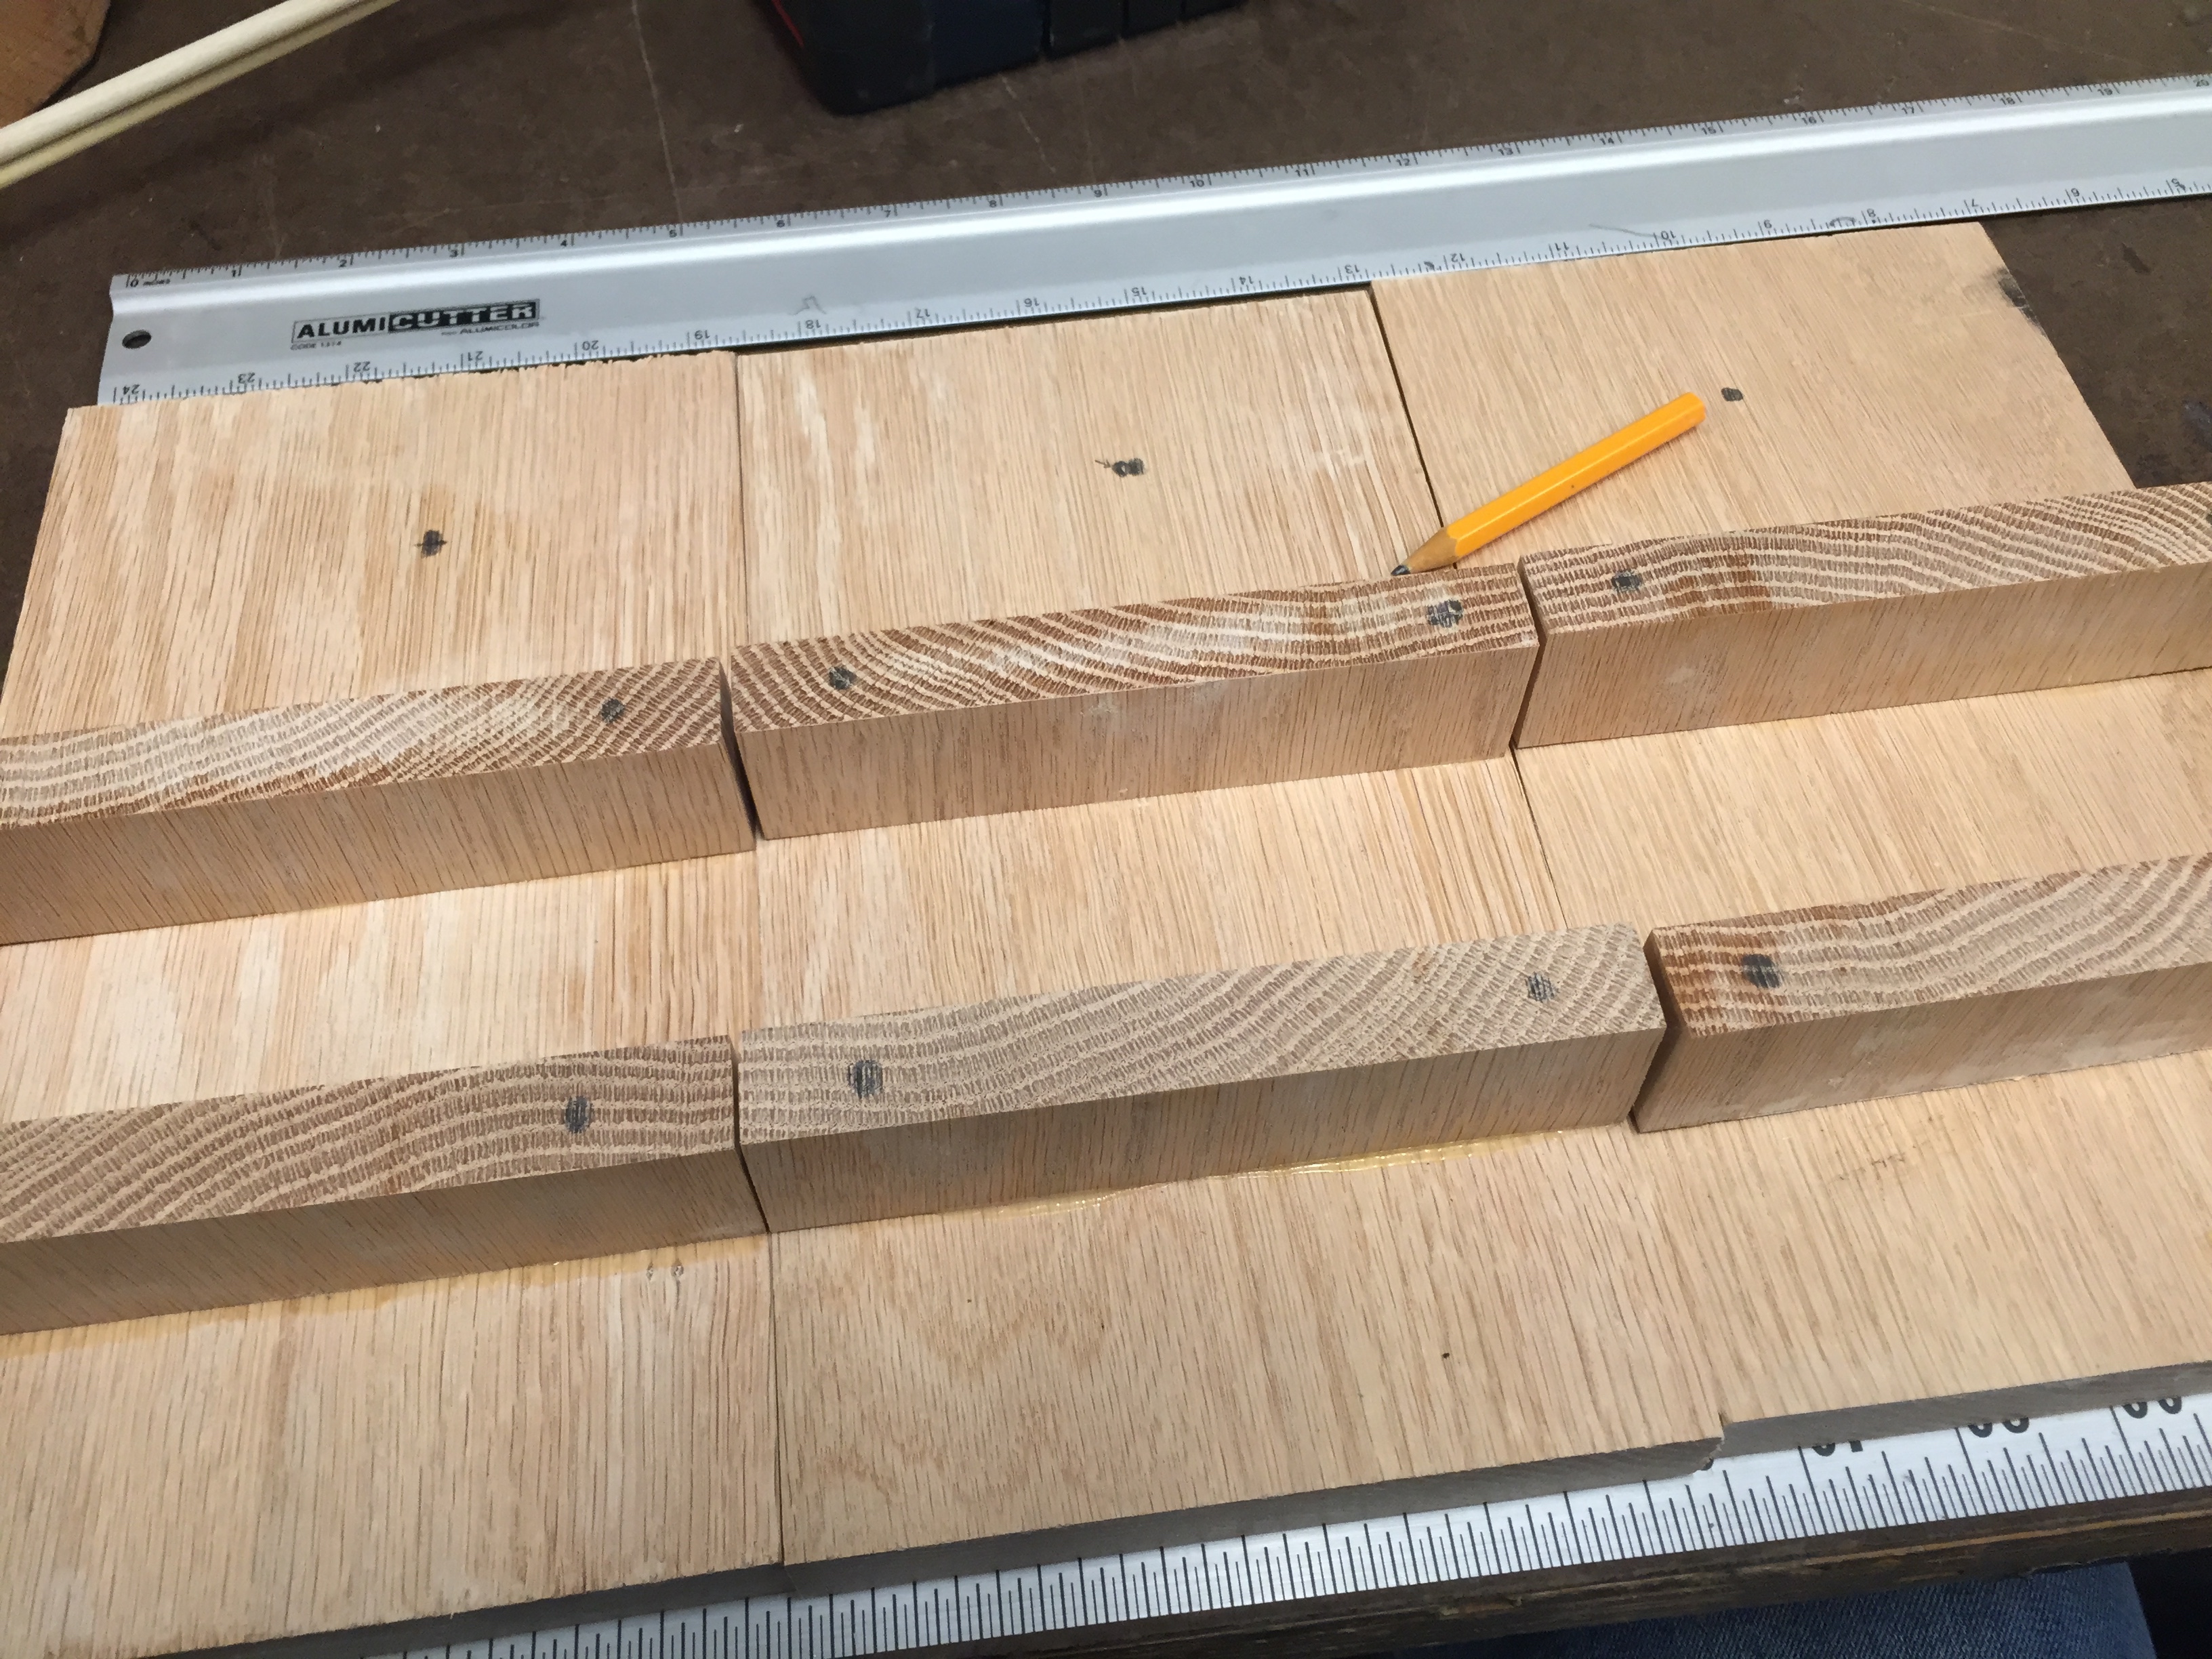
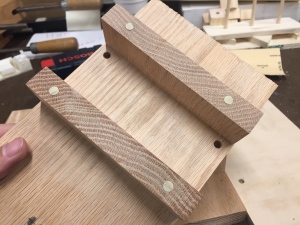
Step 4. Measure and Glue the Legs
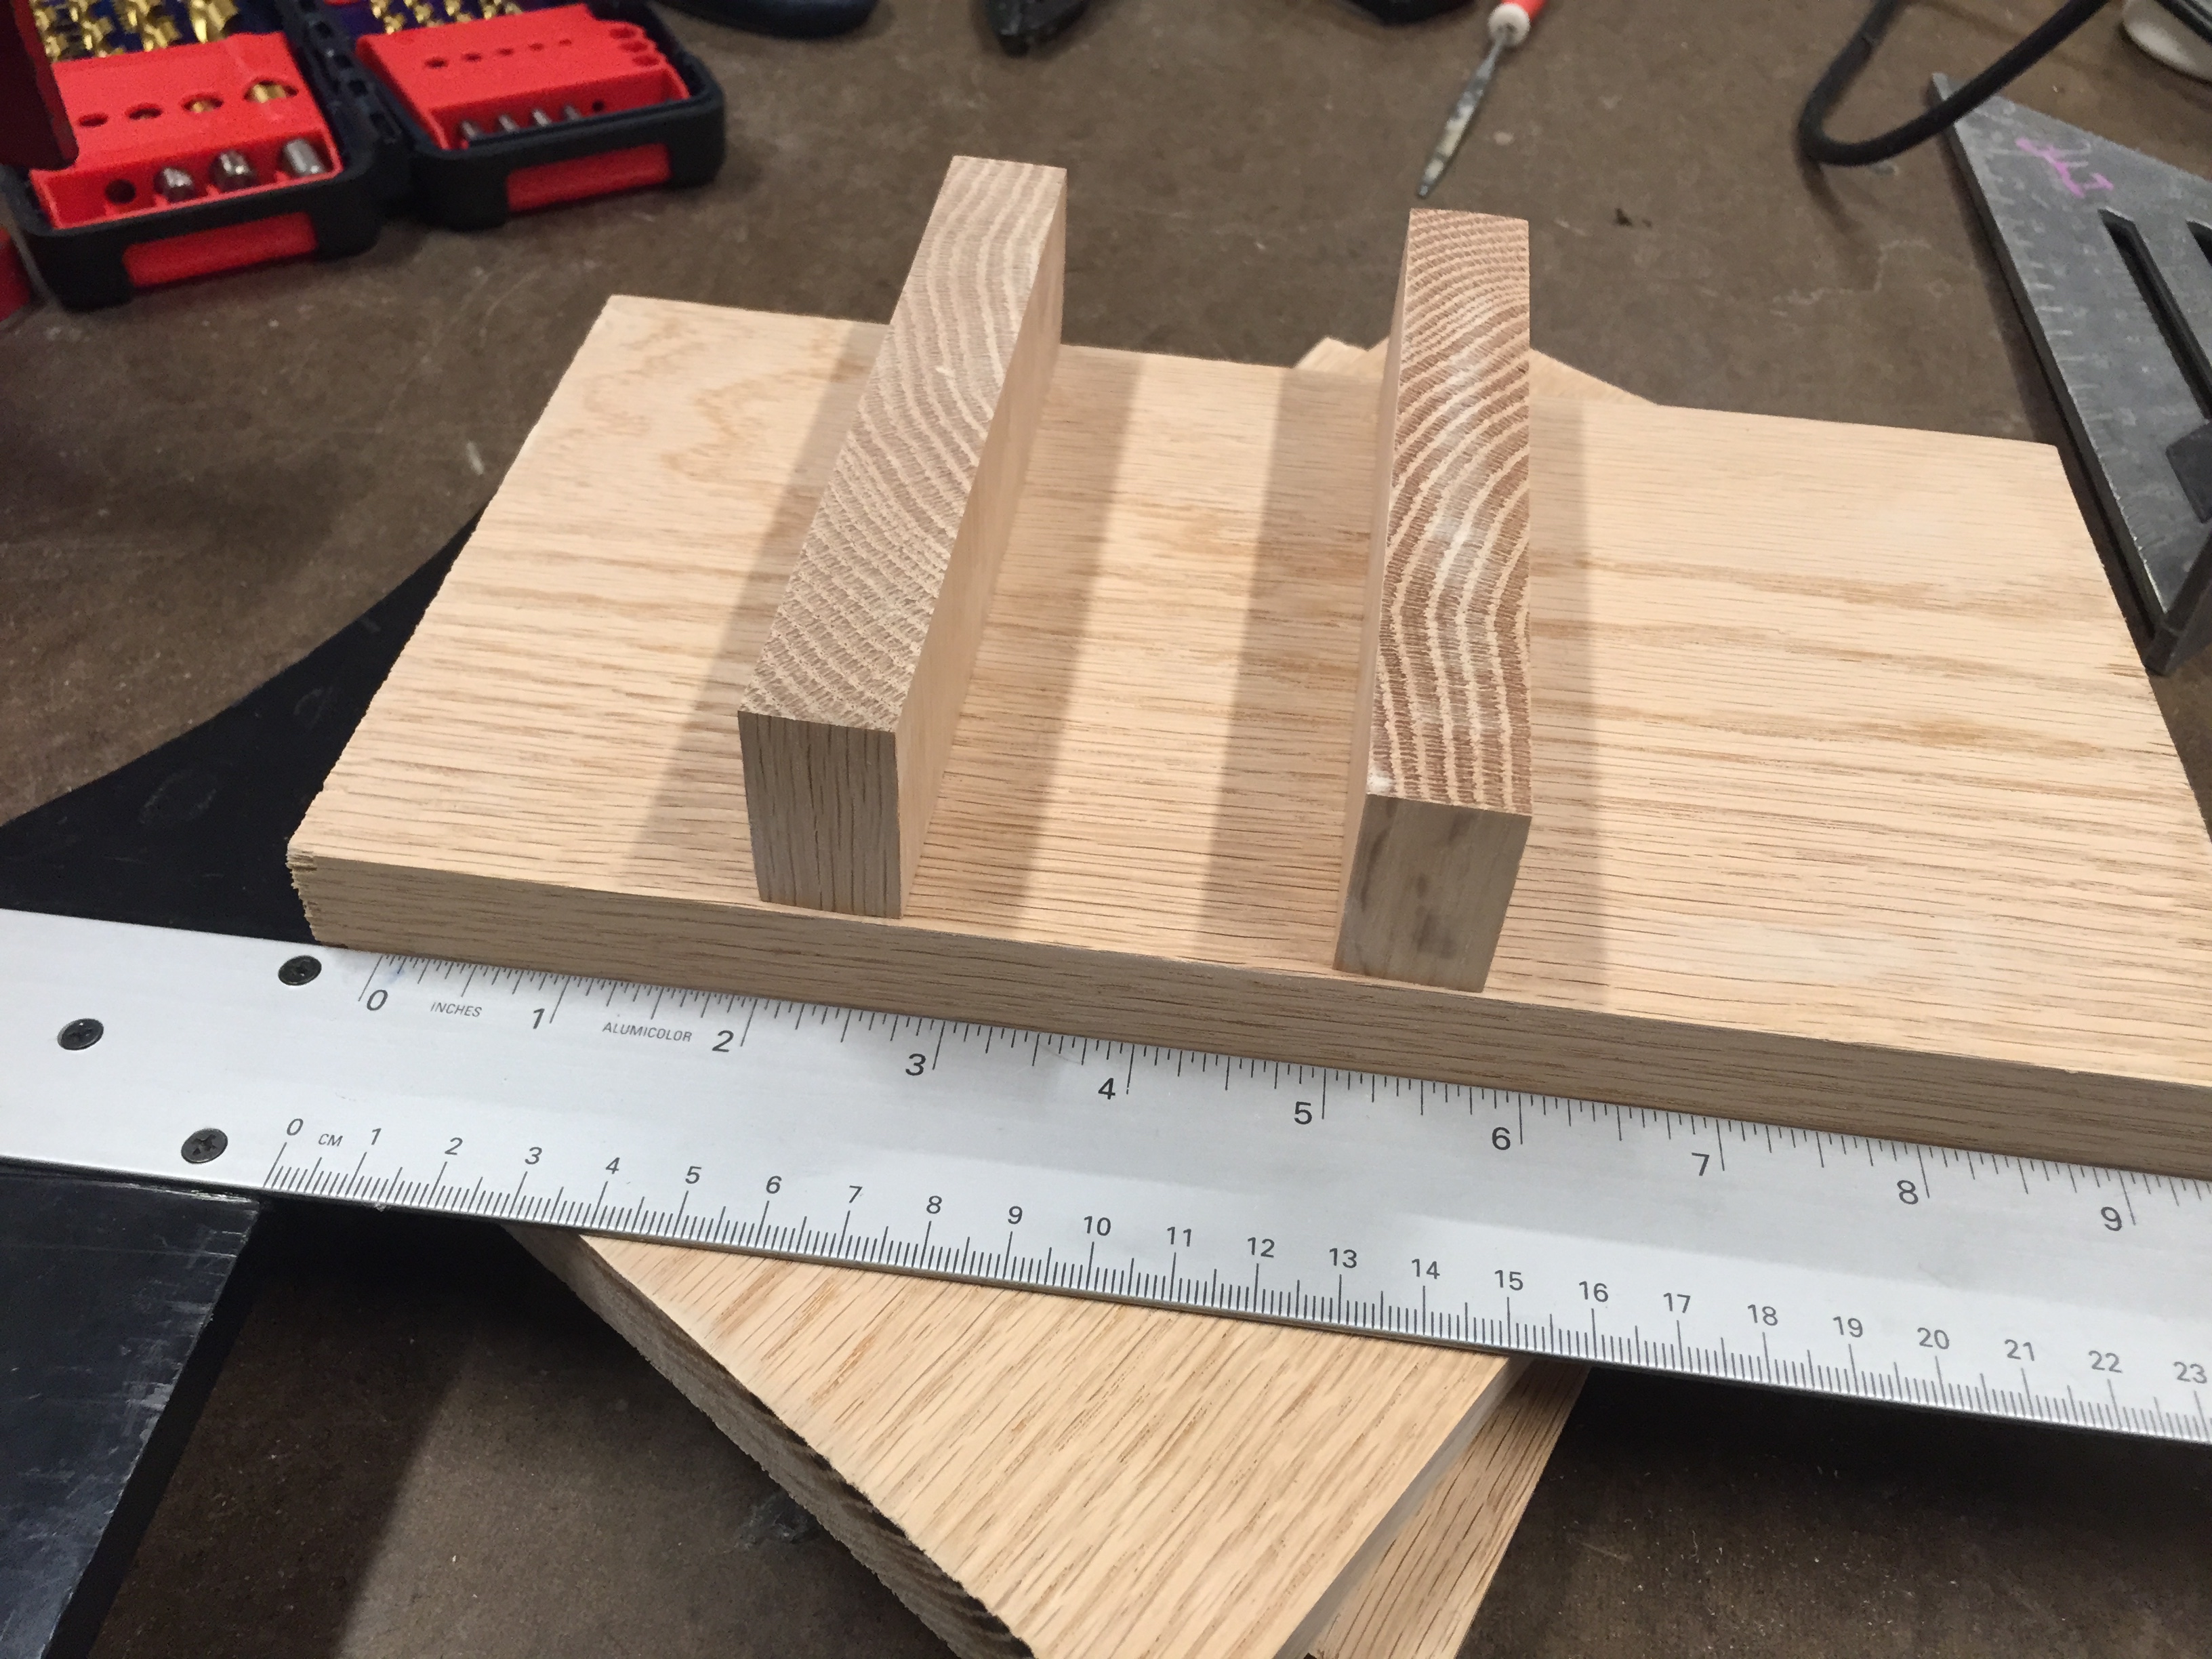

I measured approximately 2.5″ distance between the legs.
Step 5. Make the Glue Settle
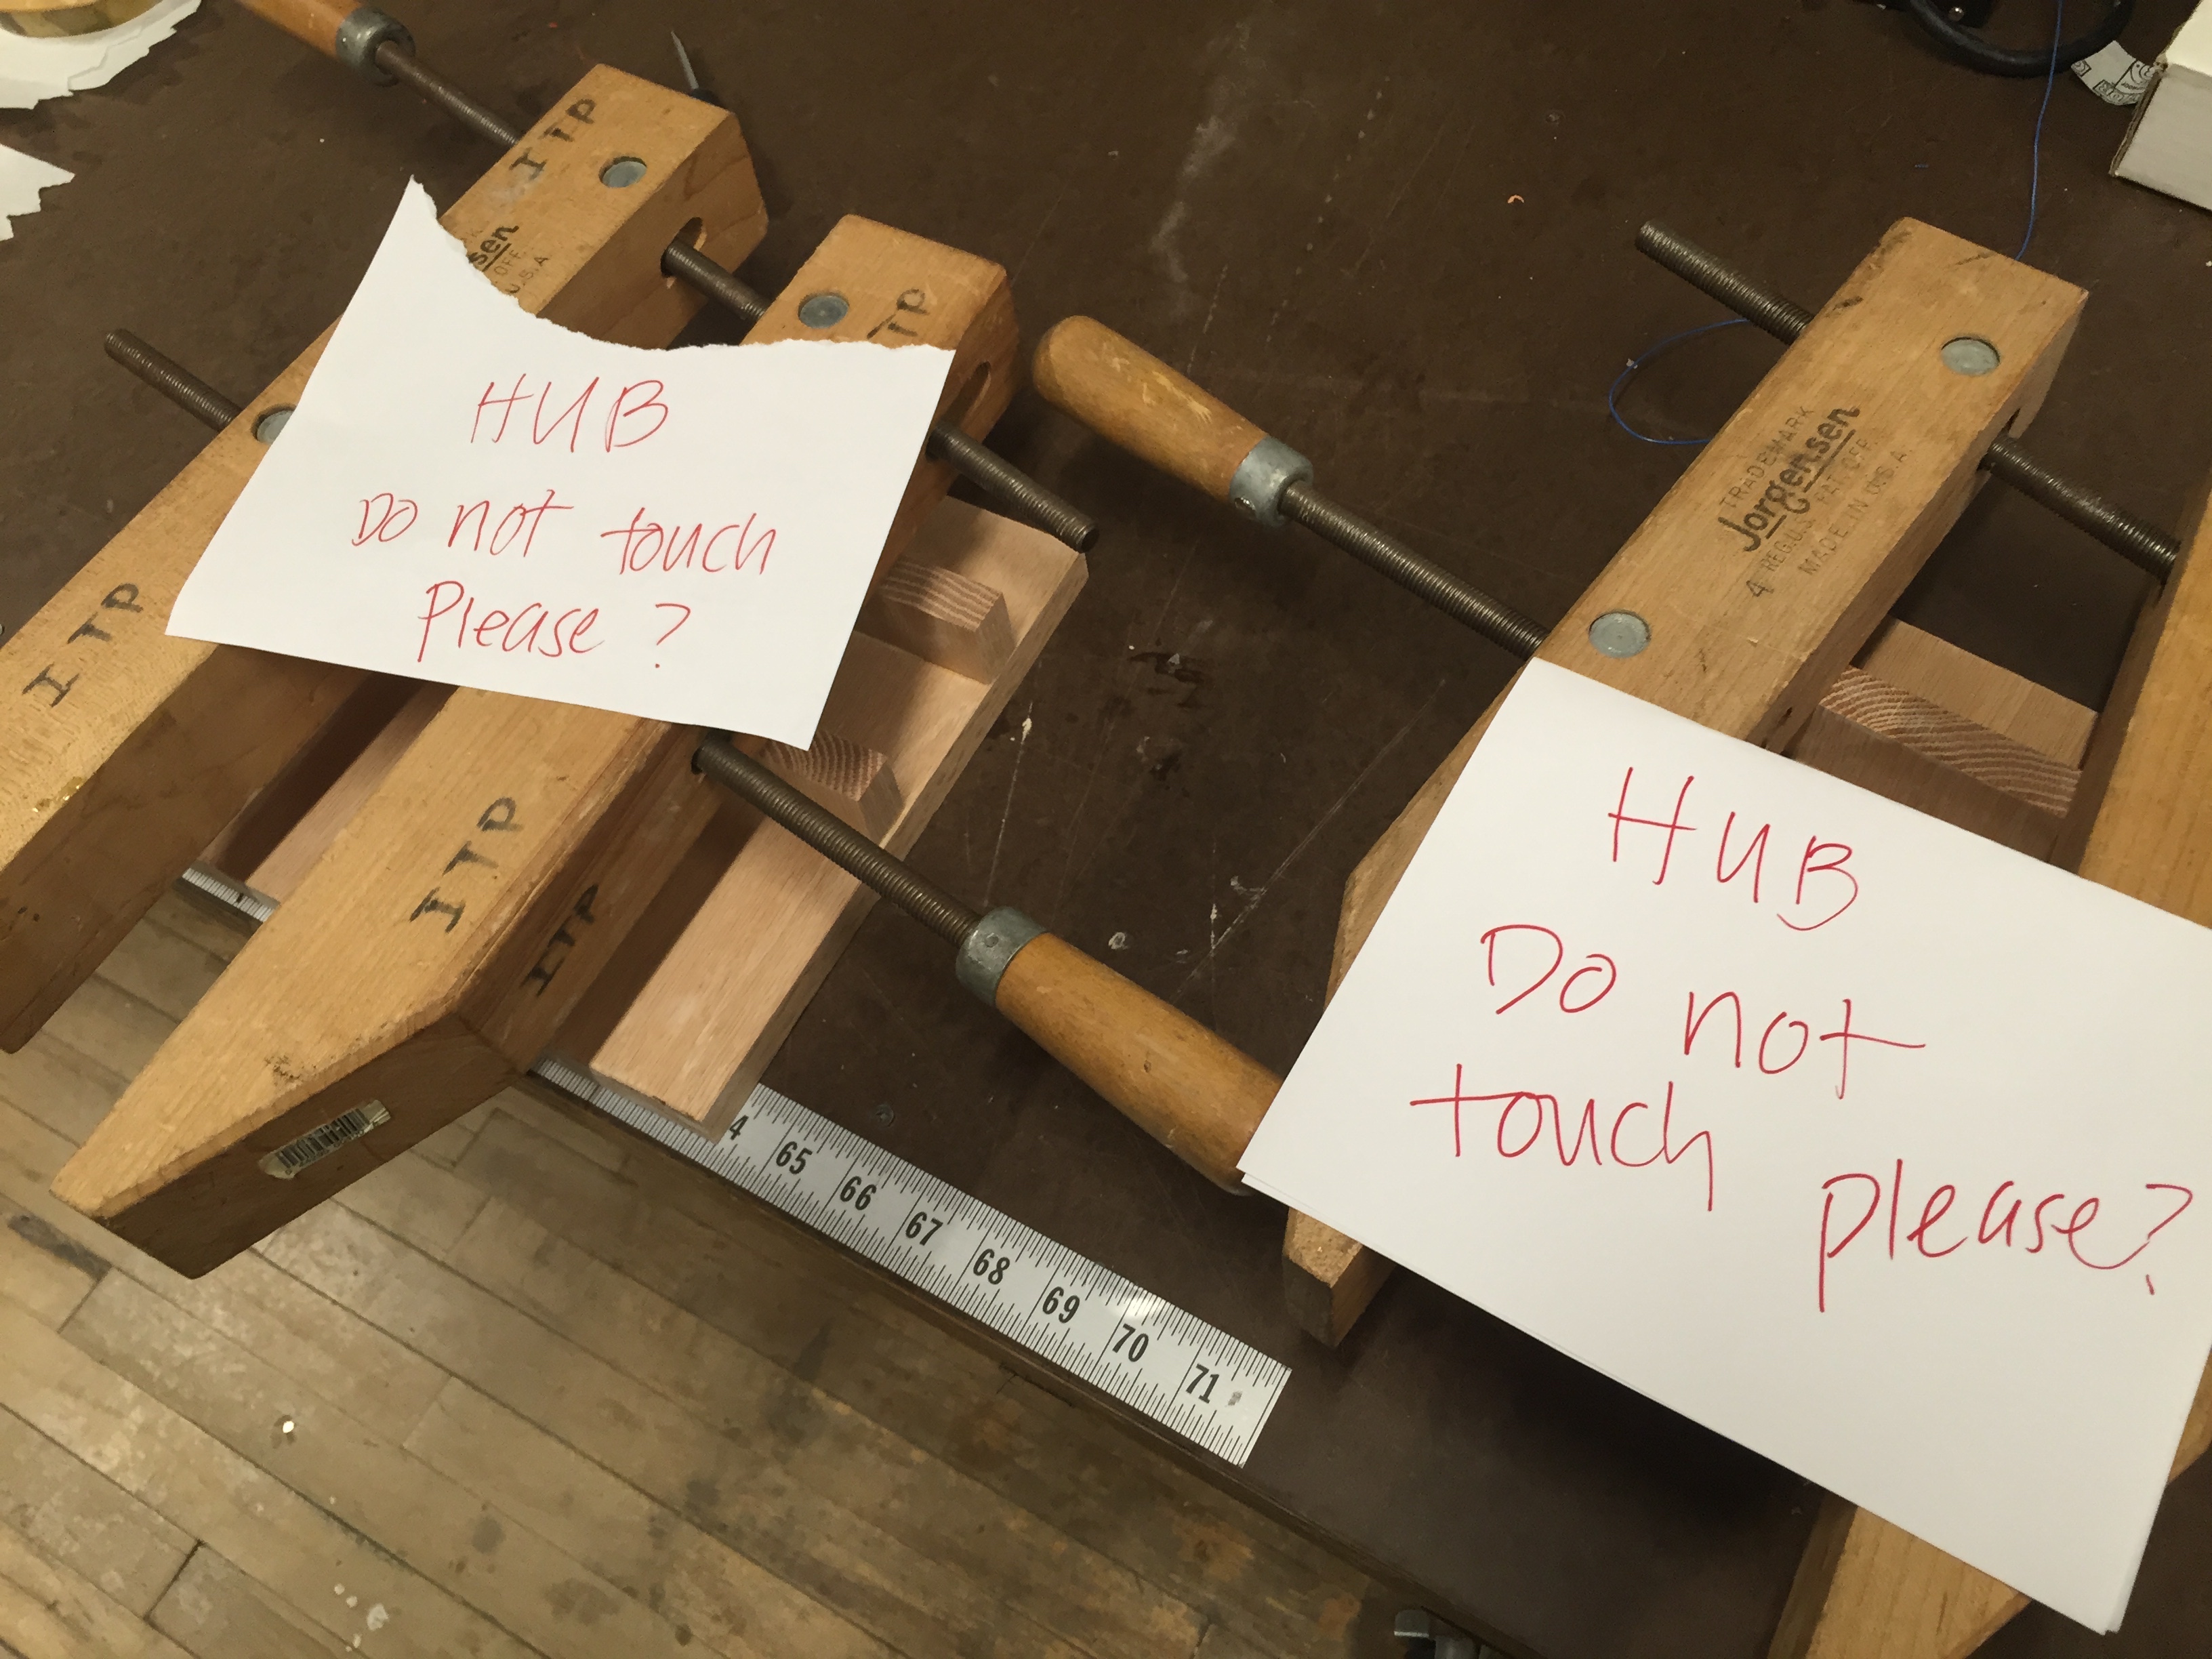
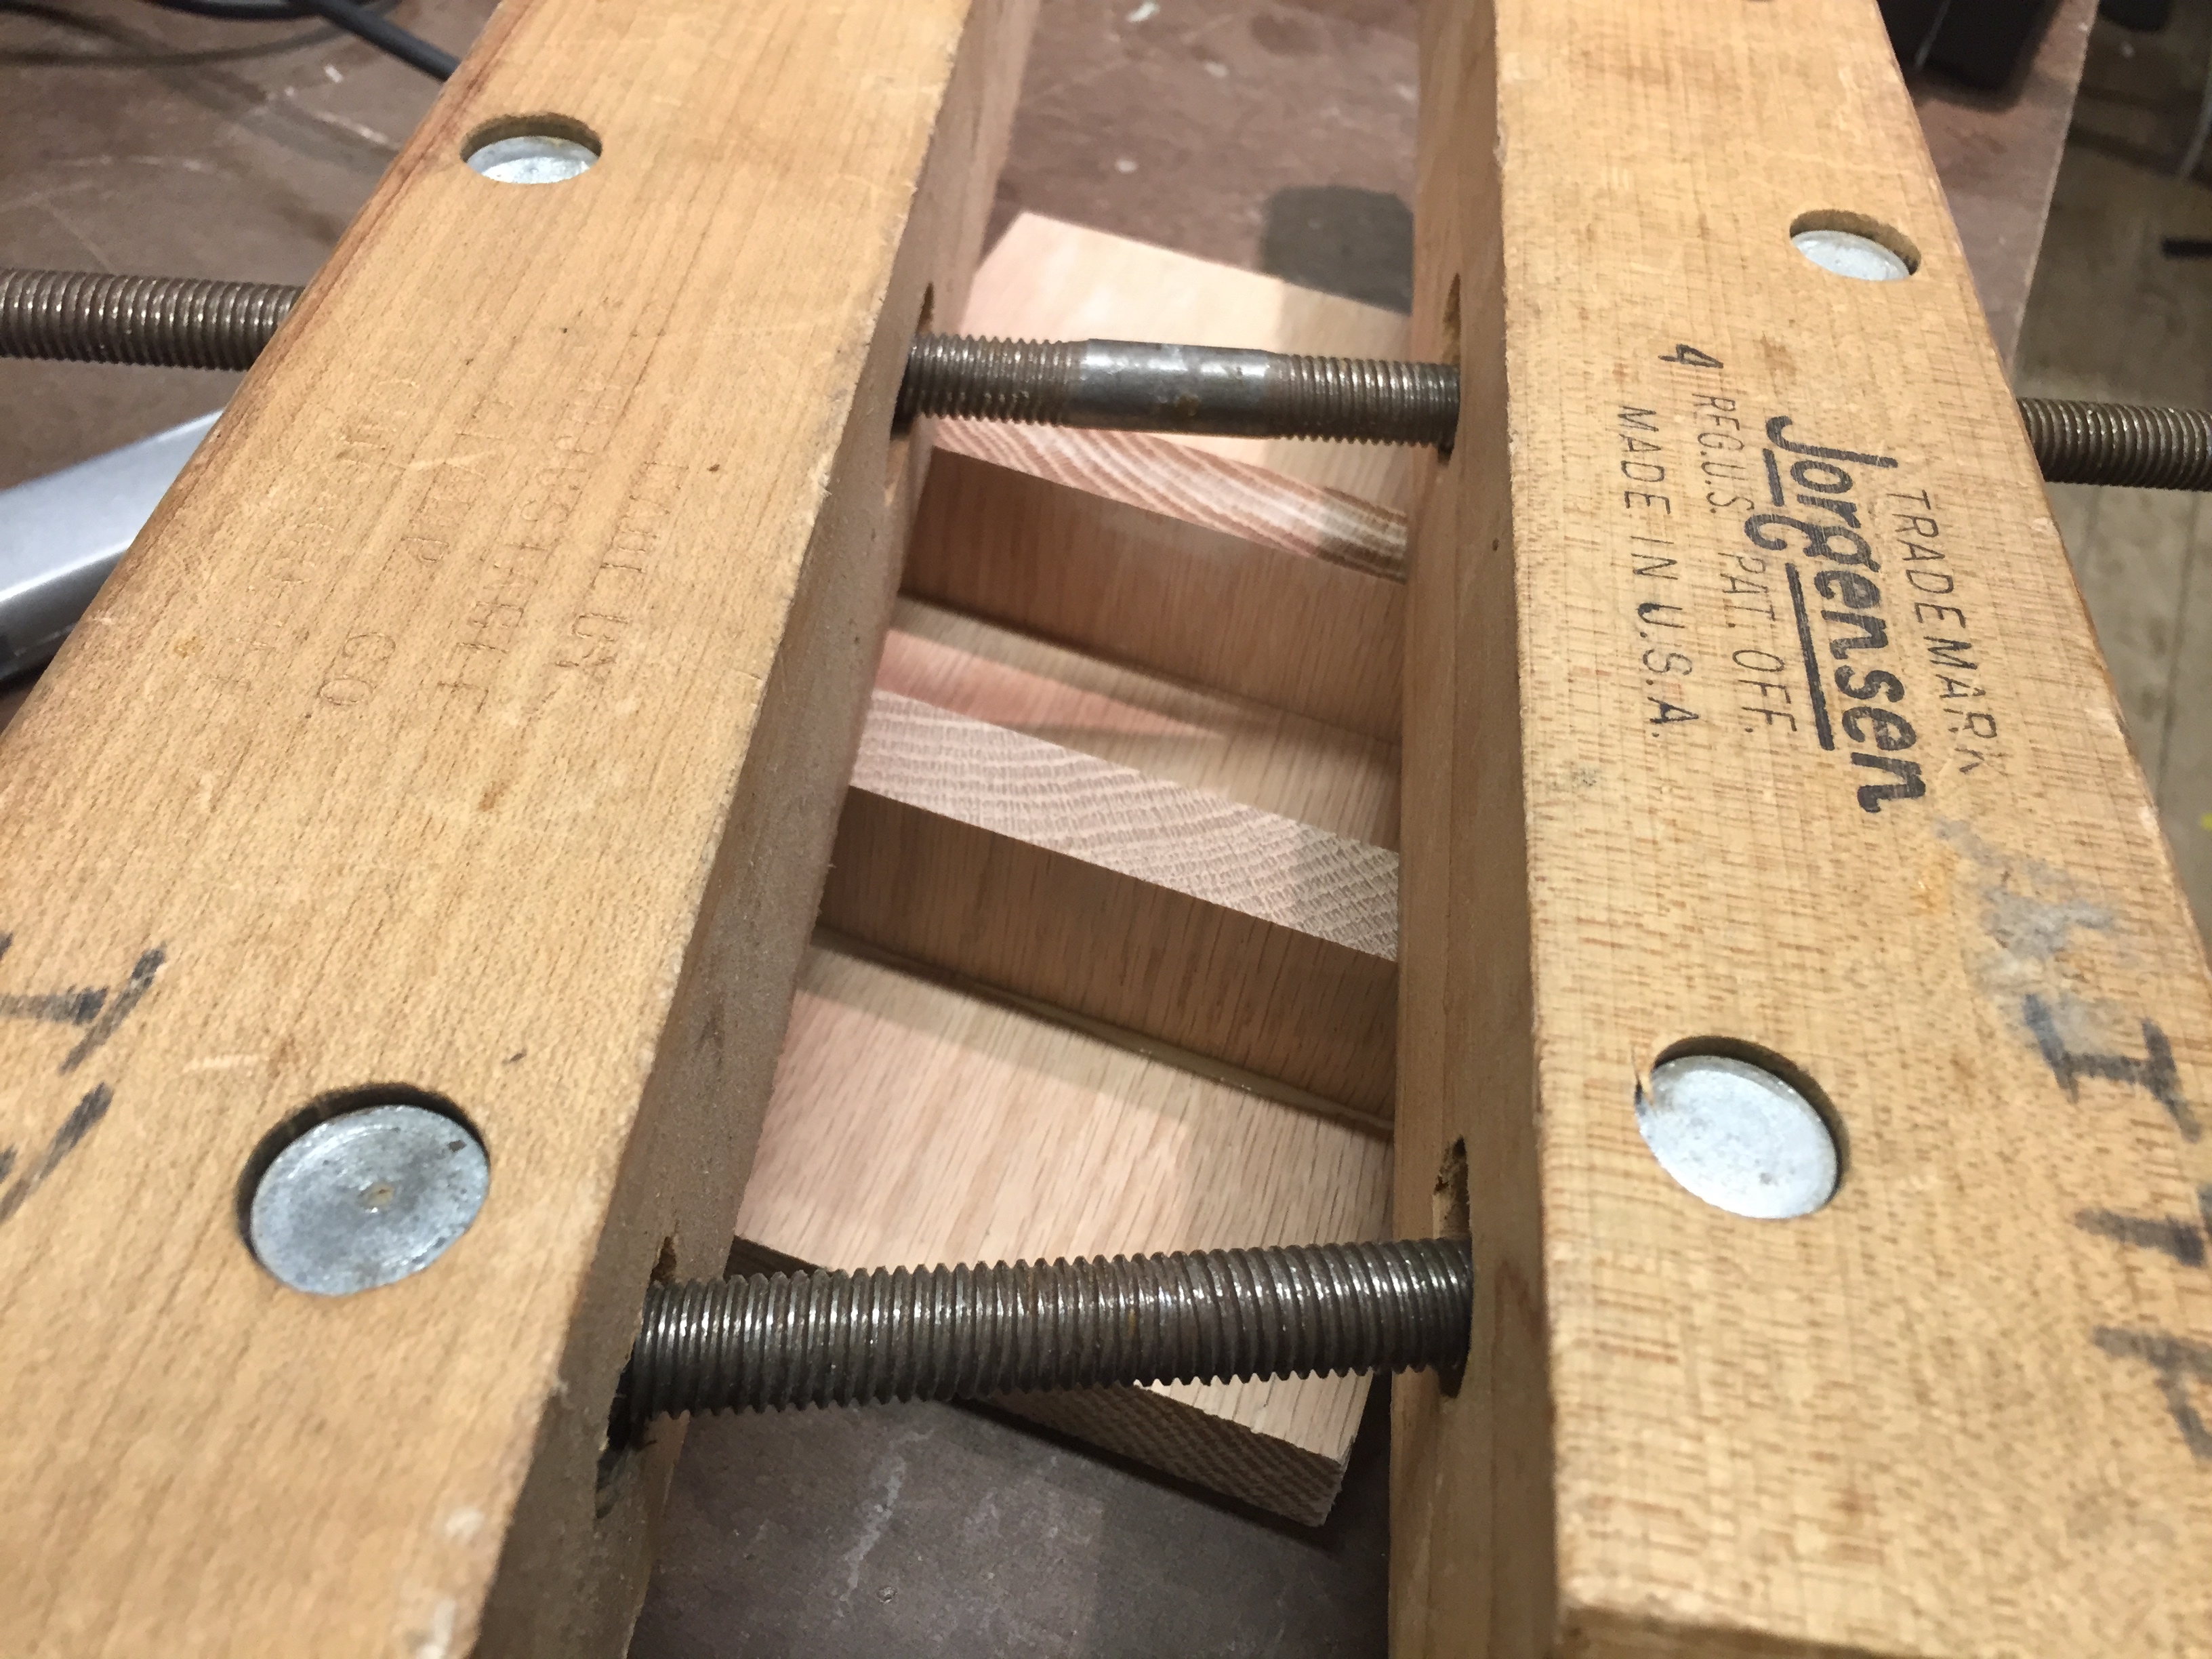
Used heavy clamps to weigh down on the wood glue.
Step 6. Make Marks for the Drill Holes
Step 7. Drill, baby, drill!
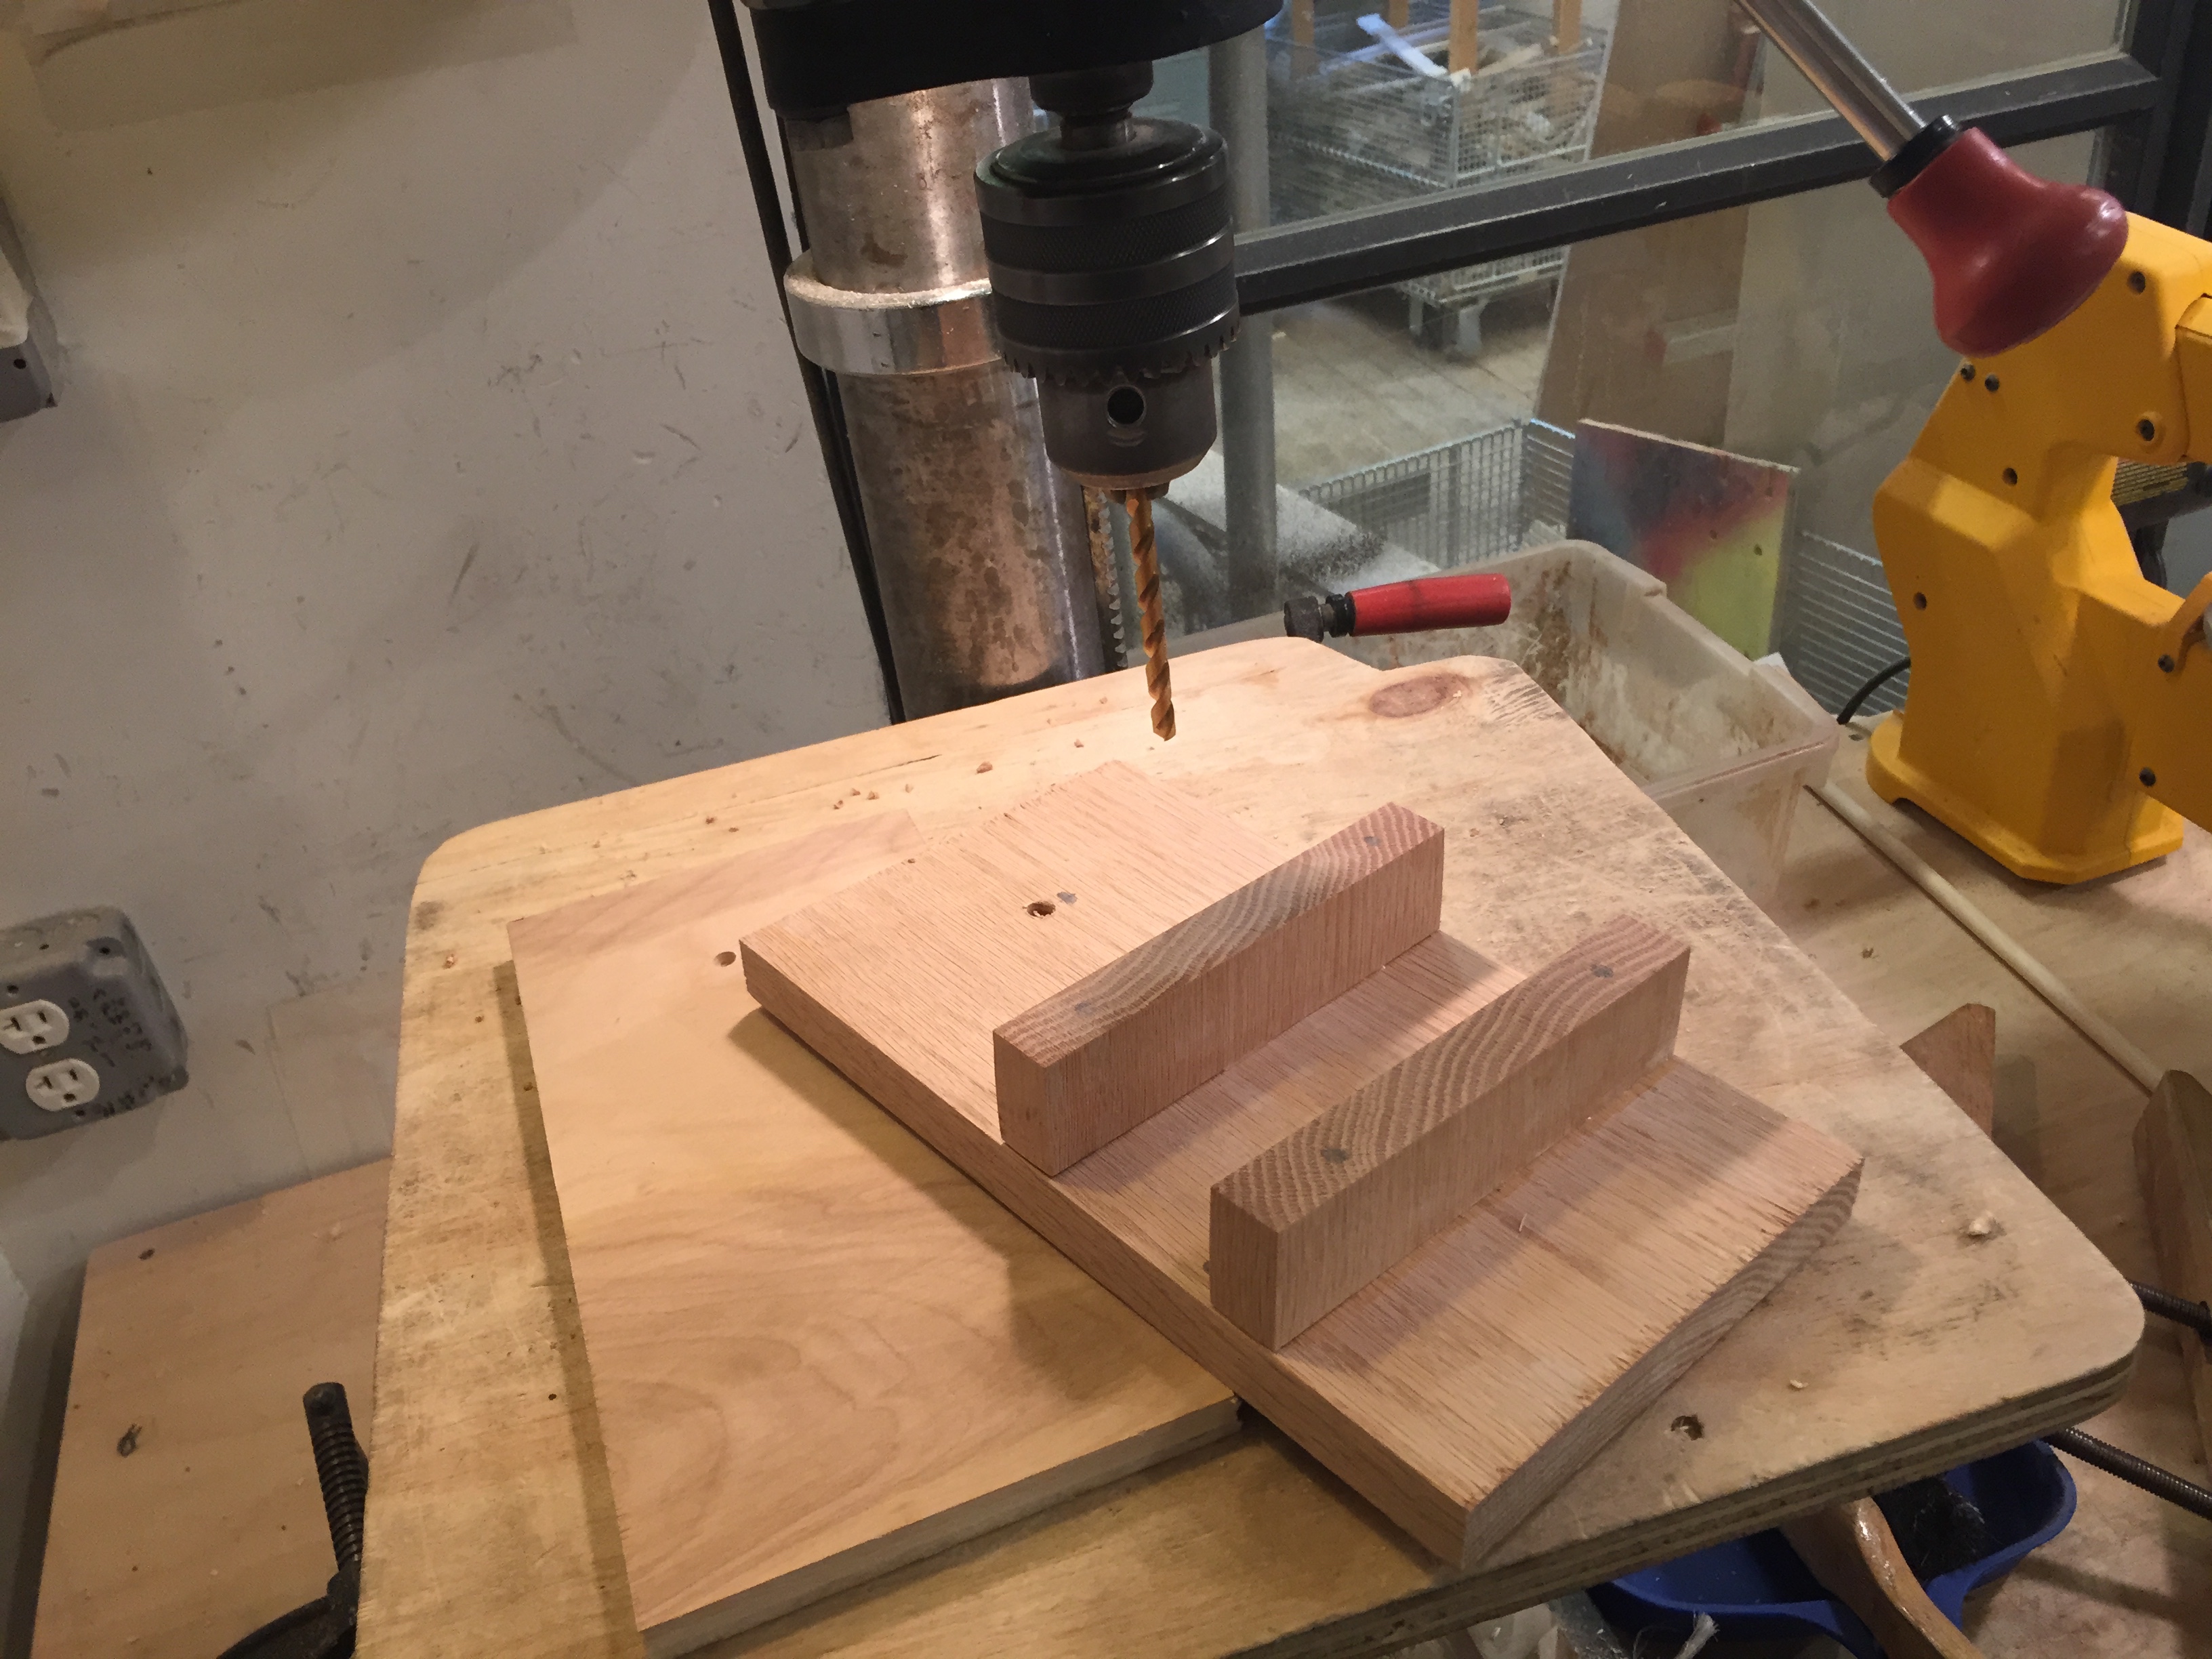
I used a 1/4″ bit as my standard for this project.
Step 8. Sand down the holes
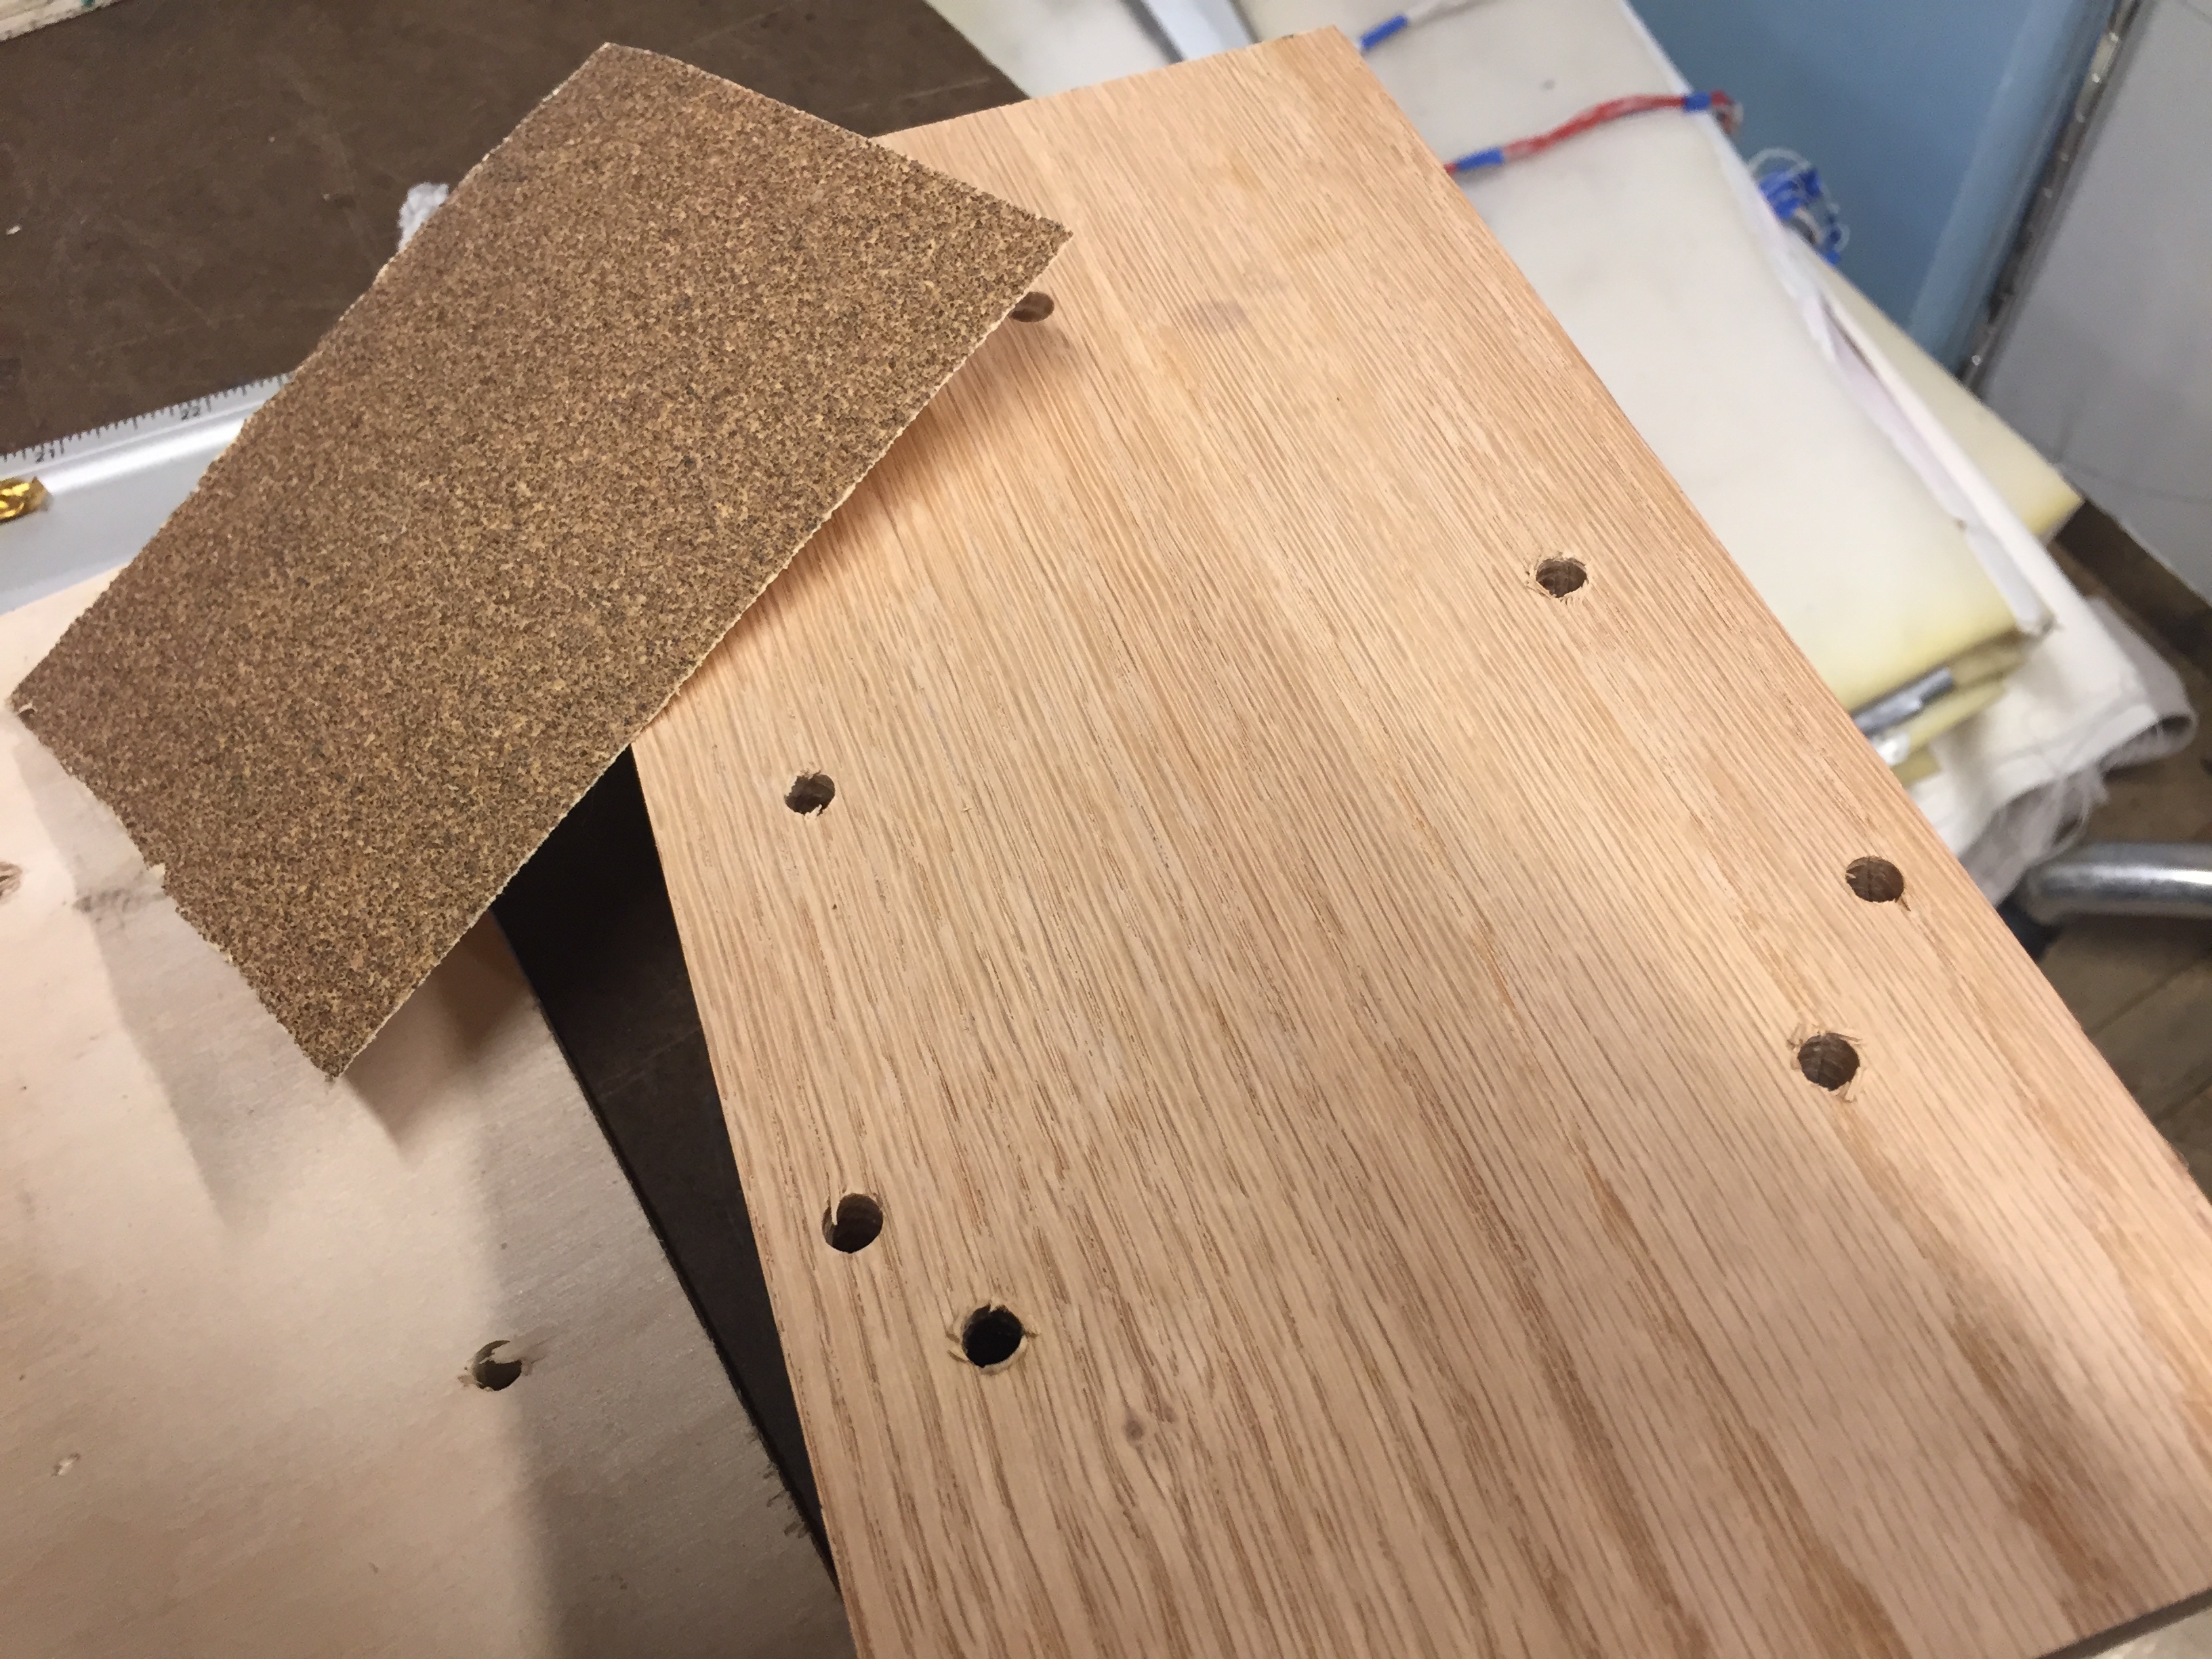
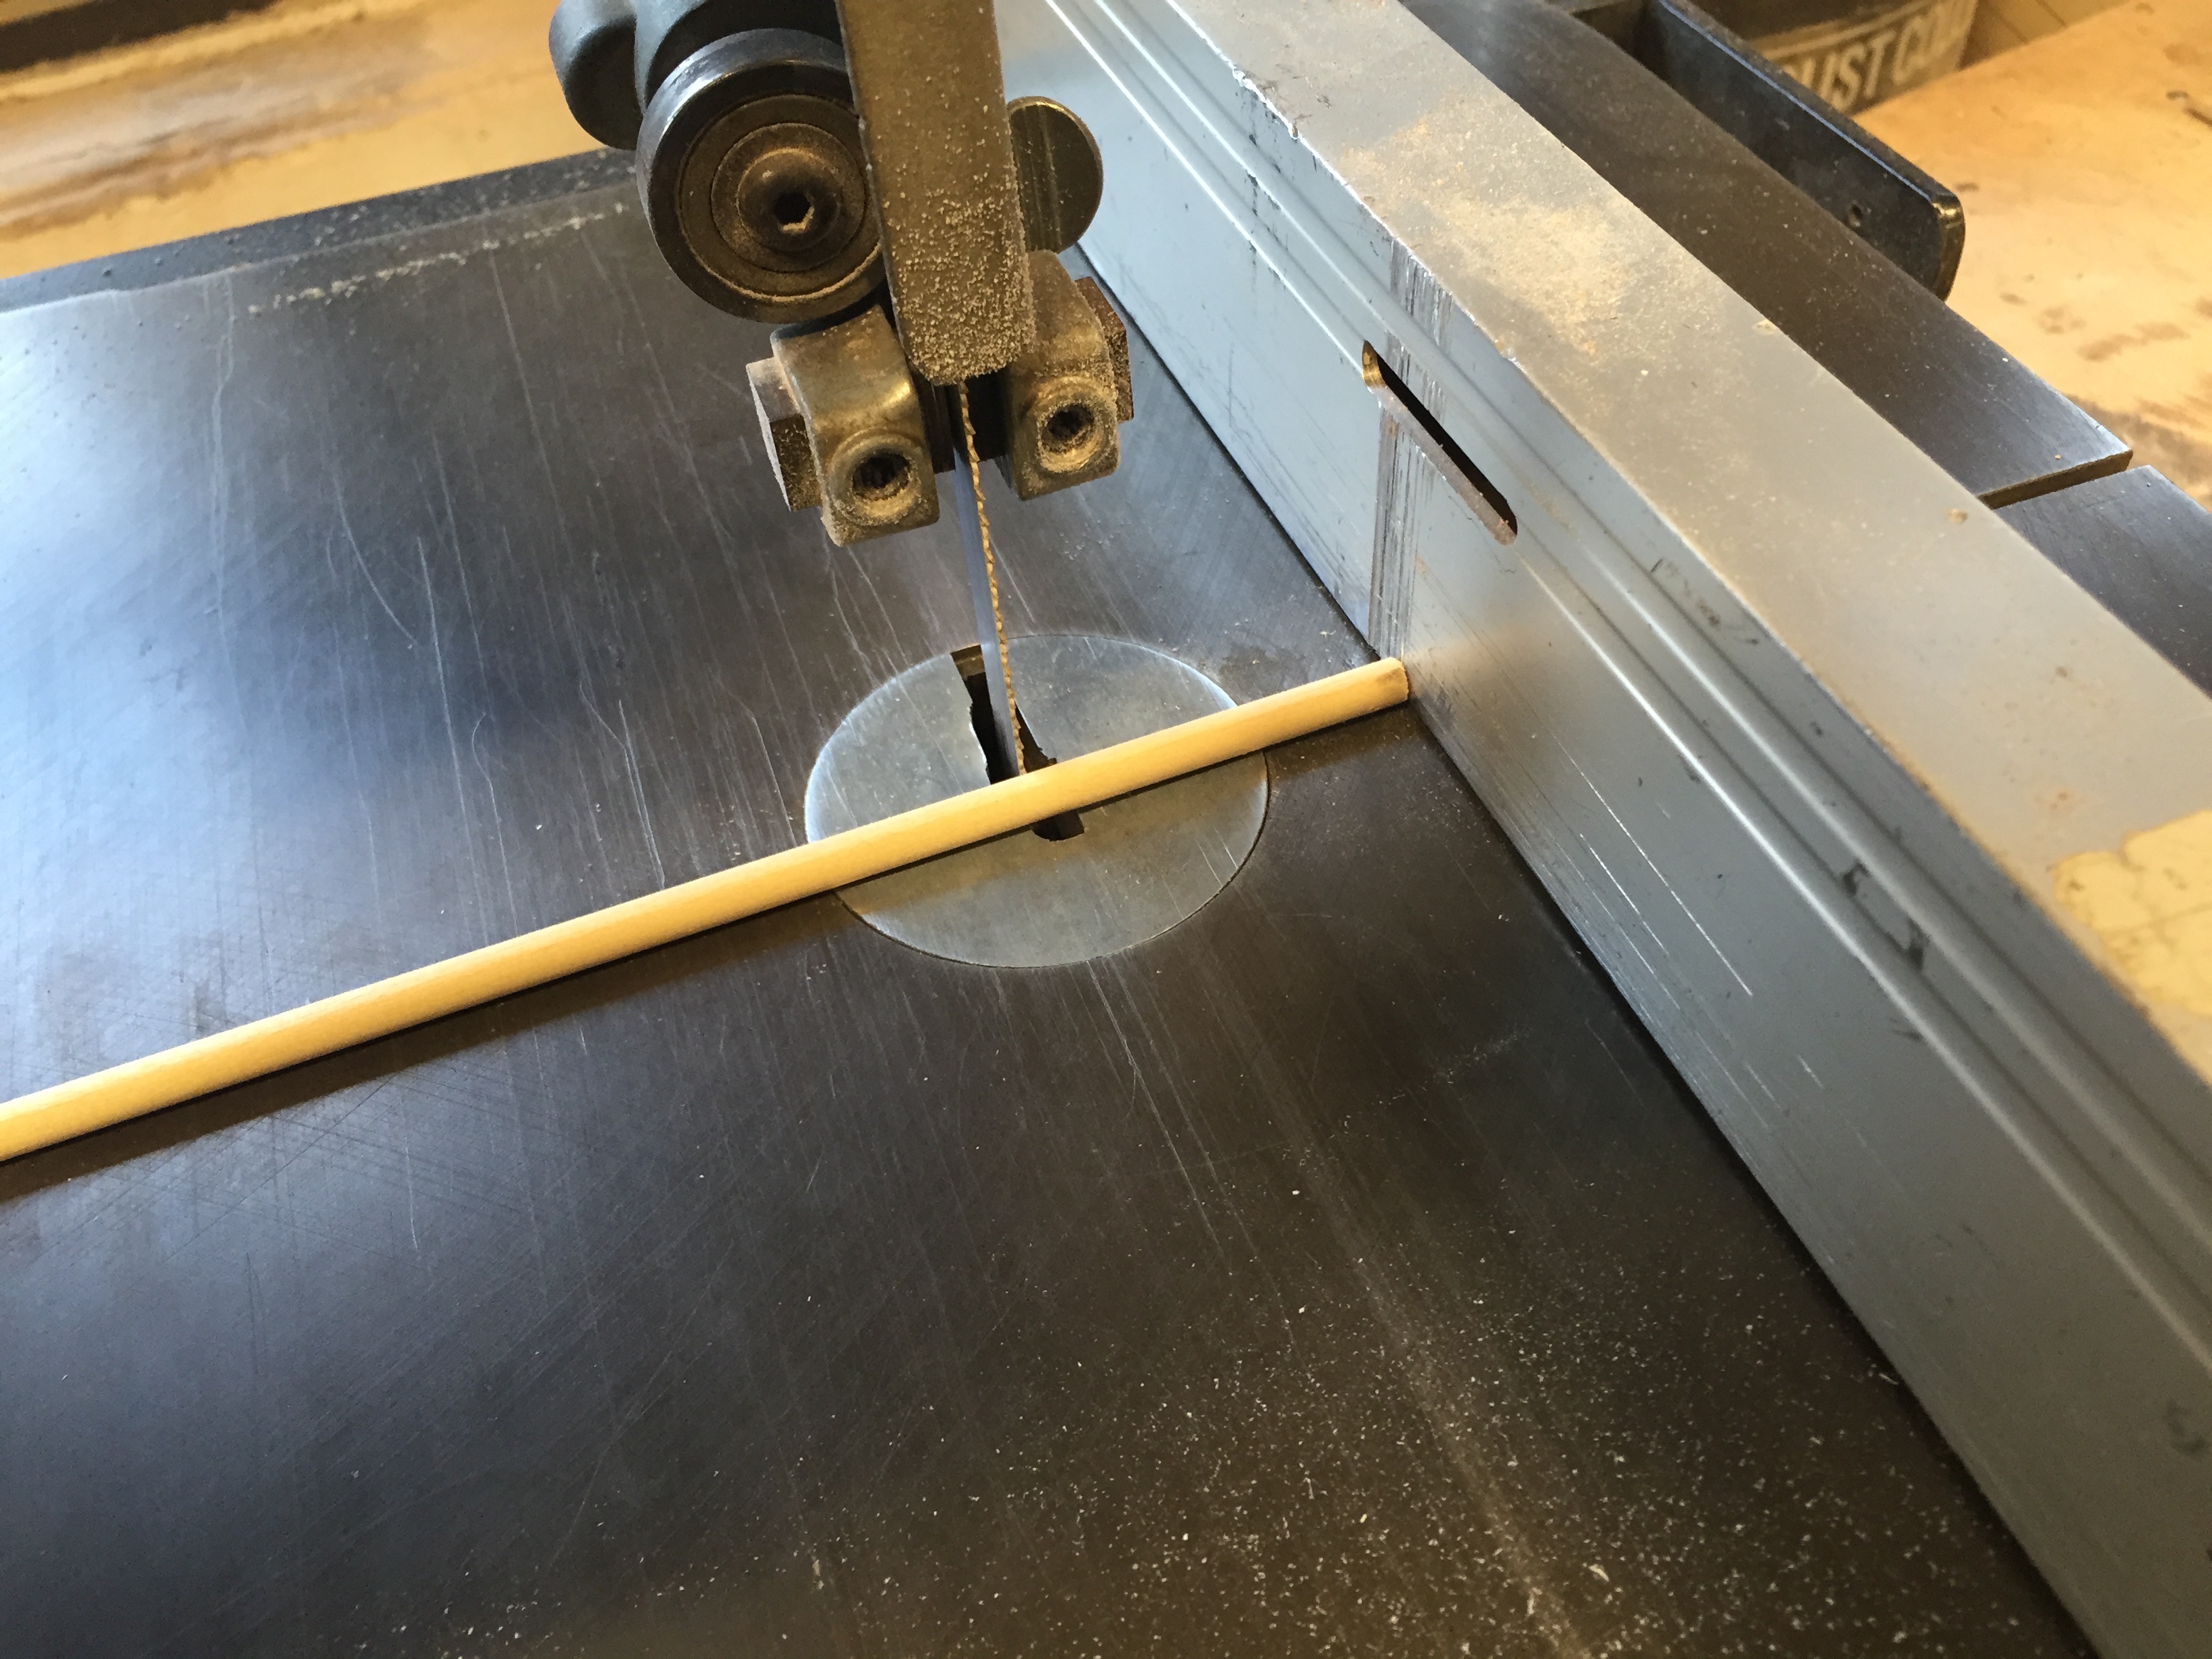
Step 9. Cut and Sand the Dowels

Step 10. Hammer Time
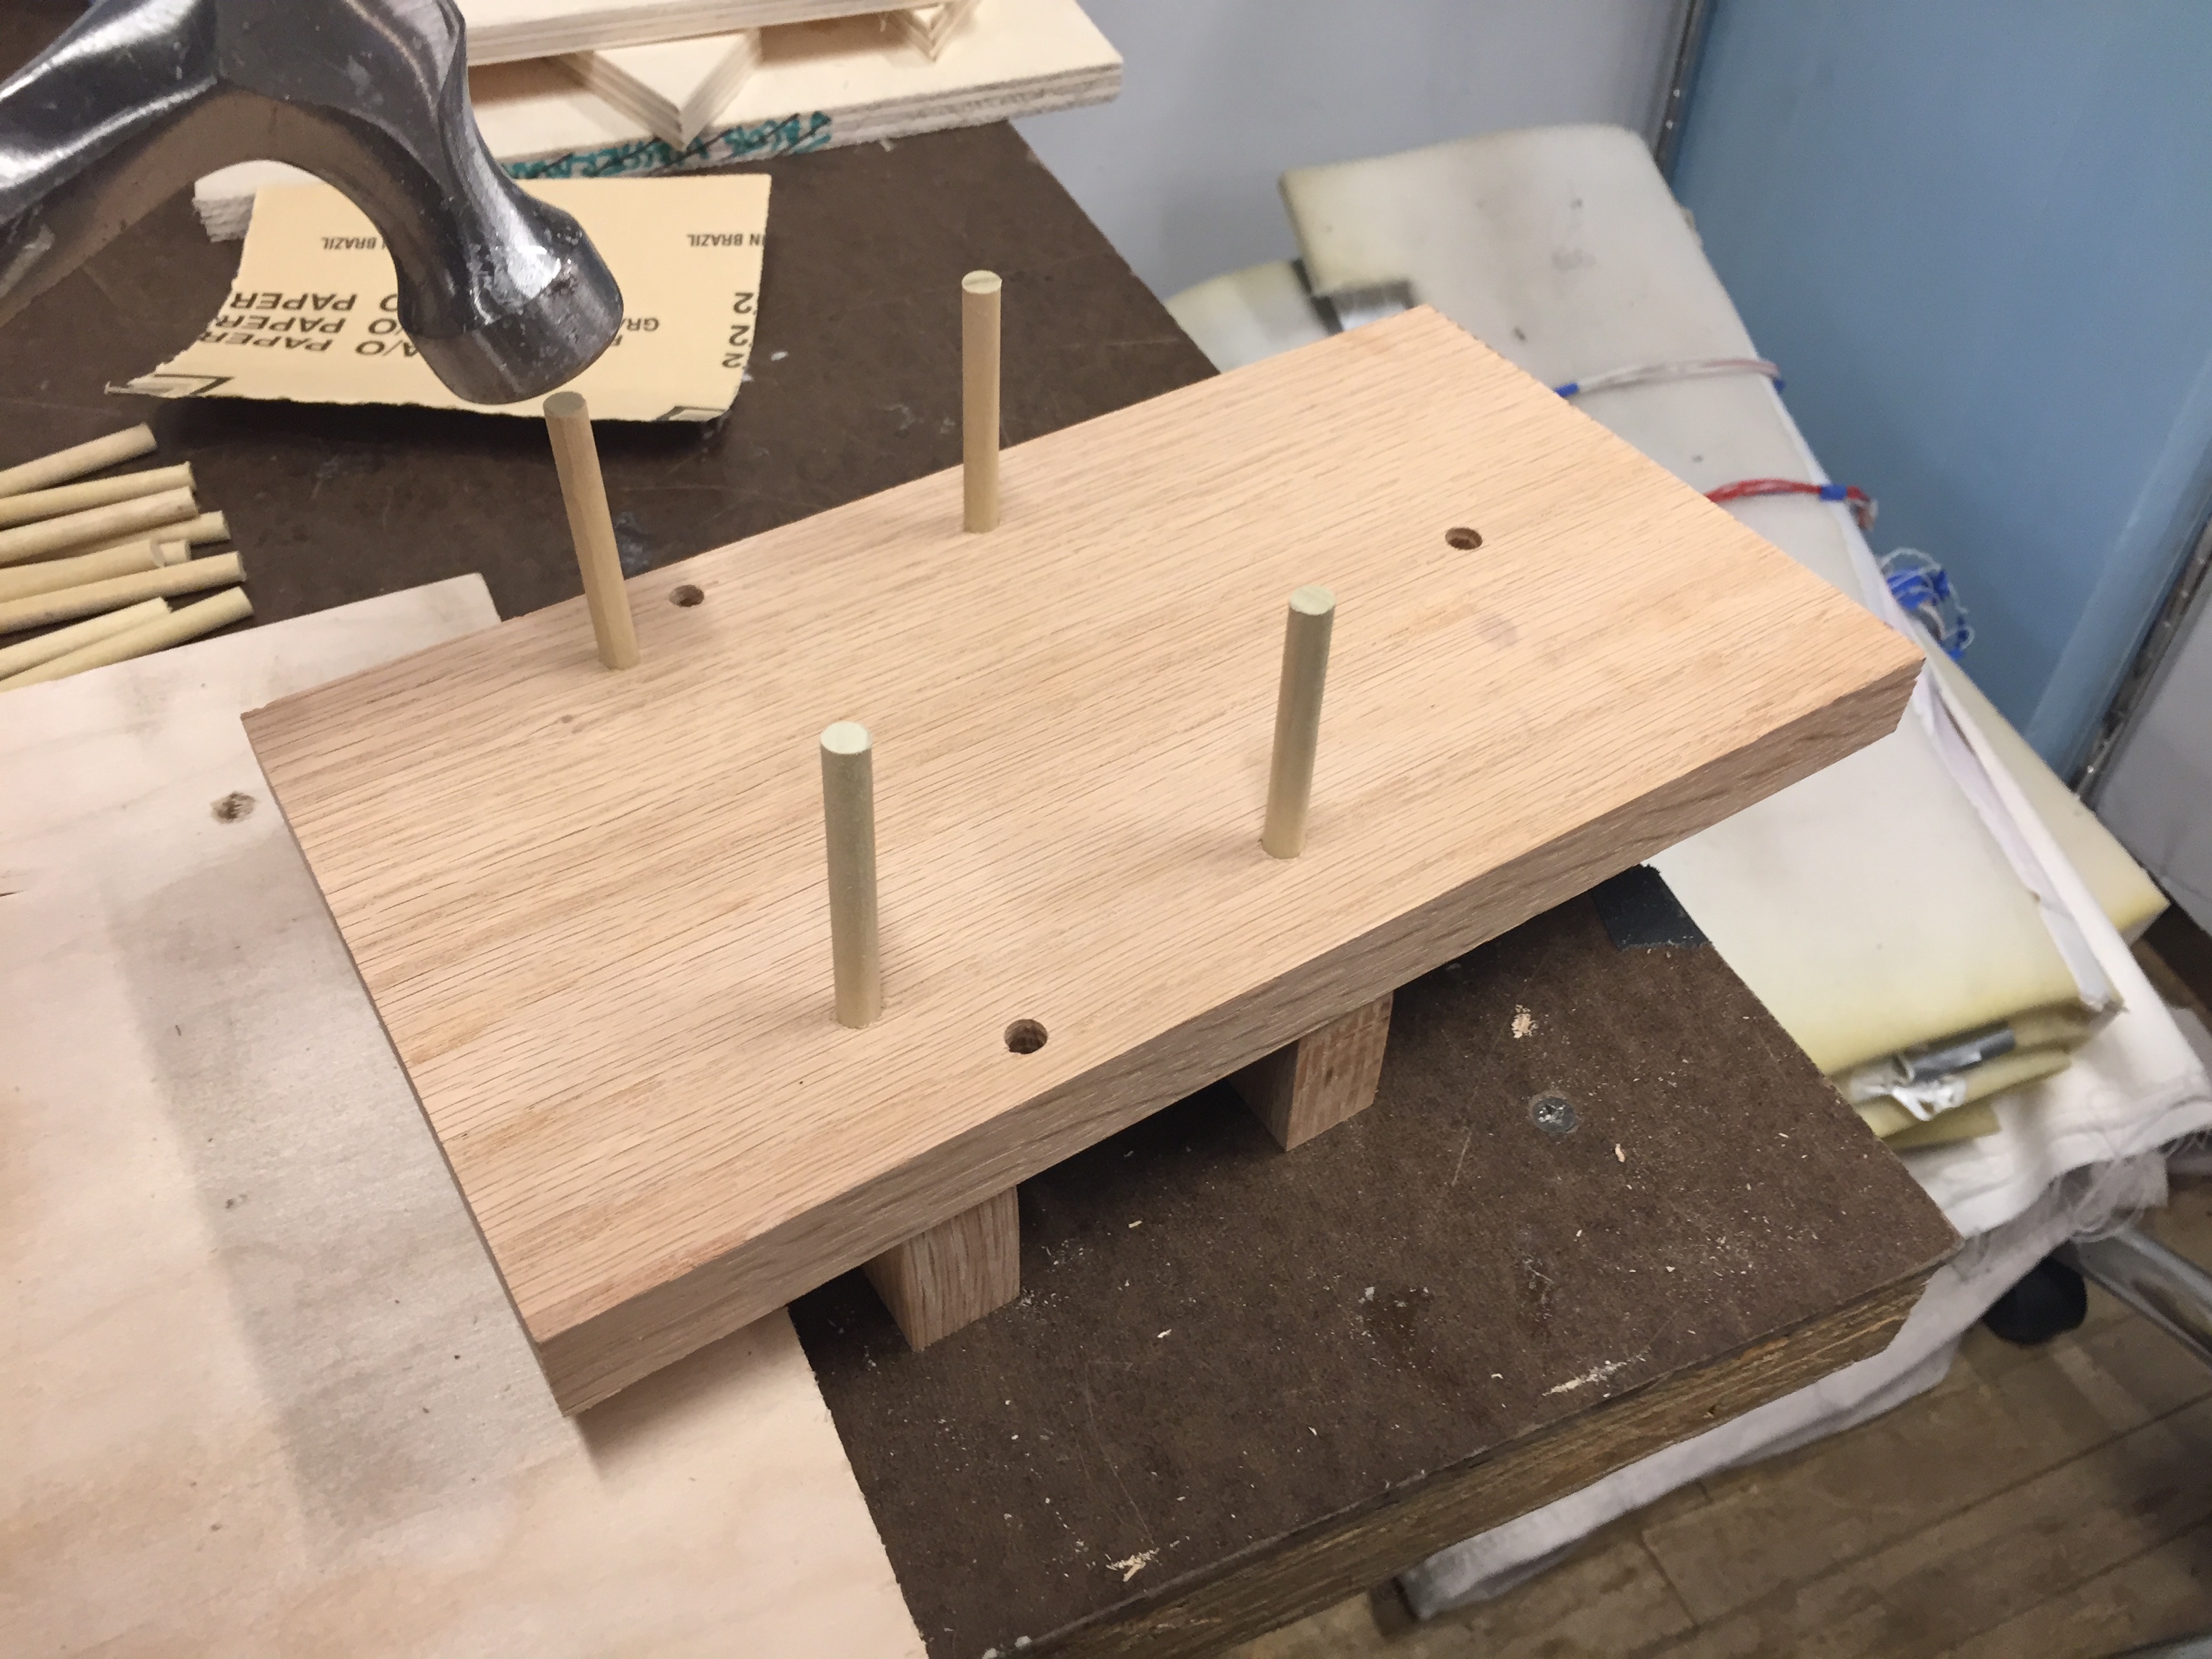
Hammered down the dowels to keep the legs in place.
Step 11. Sand again to make the base flat
Step 12. Tie the Abaca for the Straps
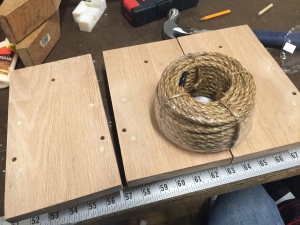
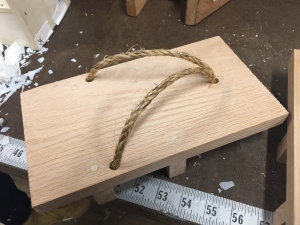
I wanted to use Abaca (Manila Rope) to infuse a little bit of my culture (Philippines) to the project! Pinoy Pride!
Step 13. Sand the Edges for a Rounded Finish

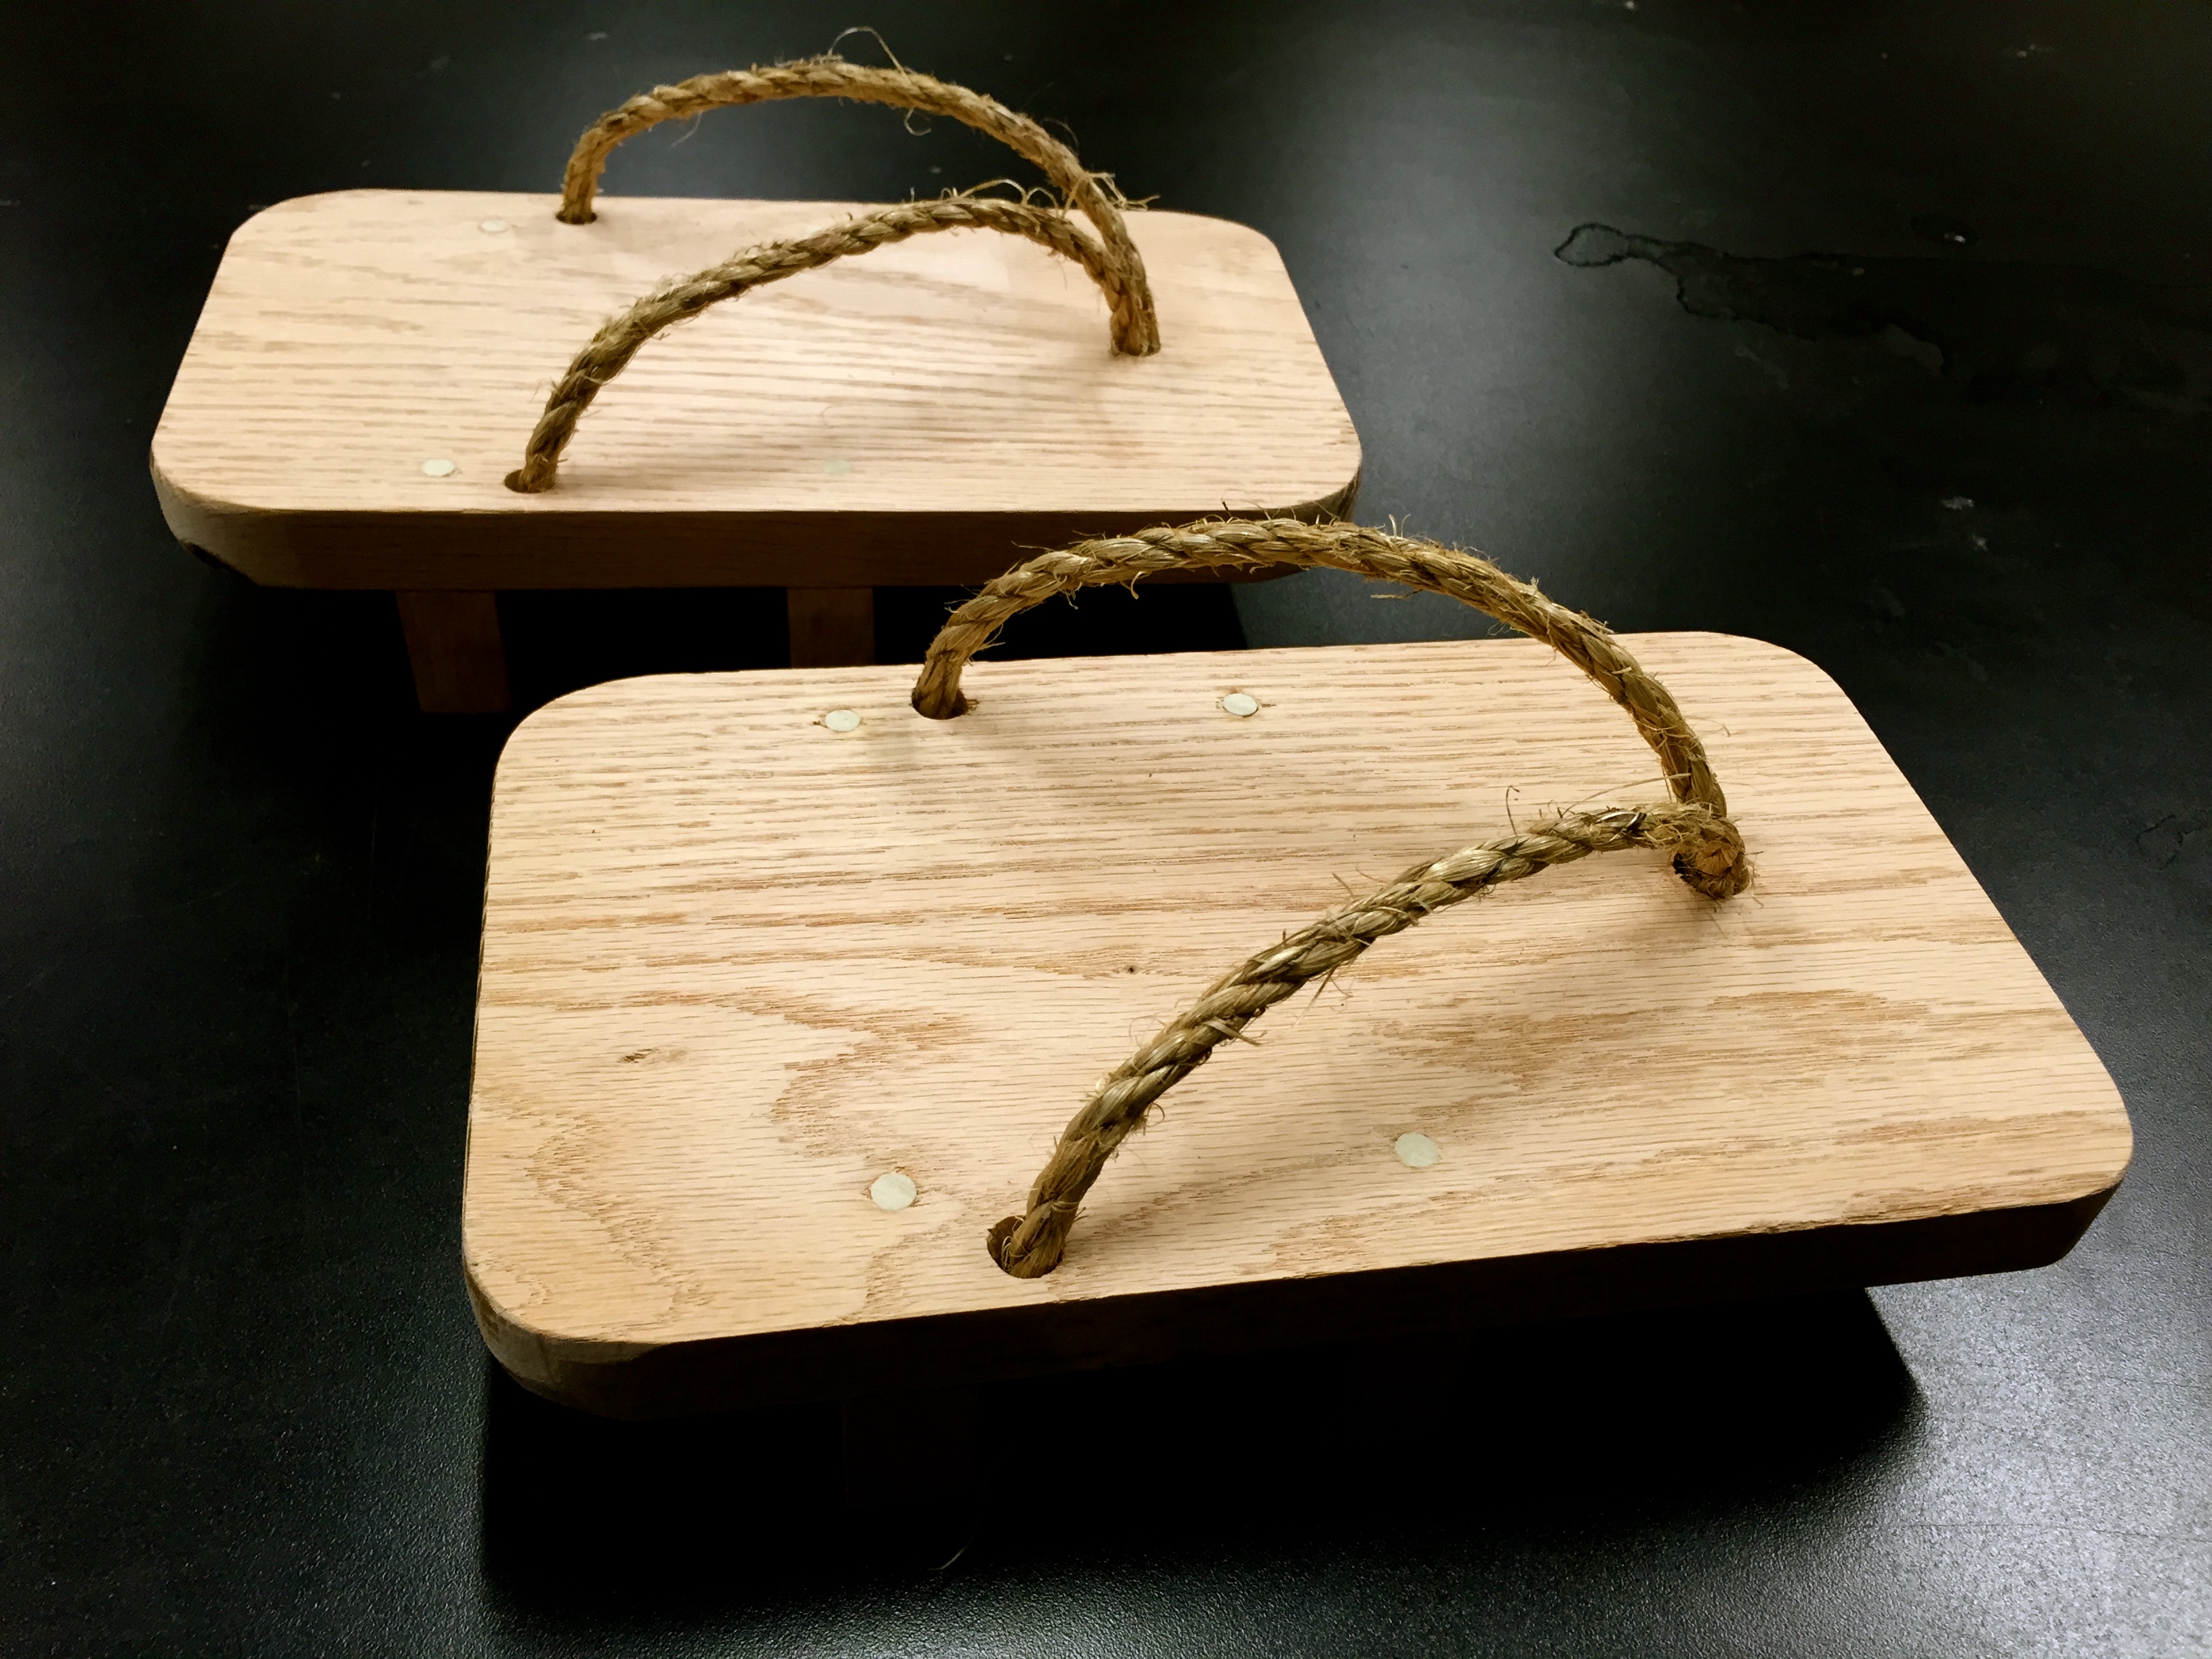
Finished Product: